Exploring iDRAC
The server has been powered on and was booting up. I entered BIOS System setup. All specs details are there and they align with what I know that the system has.
Noticed that it is really debranded. No mention of Dell or PowerEdge.
Wonder how I can add those brand labels.
Ran system diagnostics. In the first run, there was an error (code **2000-0251)**, and the error was just indicating that there are event logs. And the resolution is to just read them and clear them (as per my google search). Reference.
I ran the diagnostics again. It ran for a few hours. Maybe, like 3 hours. It spent most of the time, testing the hard drives, it seems. It completed successfully without errors! Yay!
I then set up the RAID controller. No RAID configuration was existing because the server was cleaned by the seller. There were no Virtual Disks existing. I just chose Auto-configure RAID 0. Then, the Virtual Disks were created and now showing up in the BIOS. To be honest, I didn’t know if I was doing this right, or if this is necessary at all.
Set up iDRAC, in BIOS System Setup. Well, the only thing I changed was “DNS from DHCP” to enabled. And, also the Front Panel security to show a user-defined string “PowerEdge R740” in the LCD. It was set to the value of the Service Tag before. Now, I have it to show “R740”! Maybe I should change it to “OEMR XL R740”. But I also think that “PowerEdge” is sexier.
I connected the network cable into the iDRAC dedicated NIC. It got an IP address through DHCP! Browsed through that IP from my Mac and got the login screen. What username and password to use though? I tried “Administrator” and “calvin” (from googling), and it failed. I then googled and found a reference.
So, I tried “root” and “calvin”, and I got in!
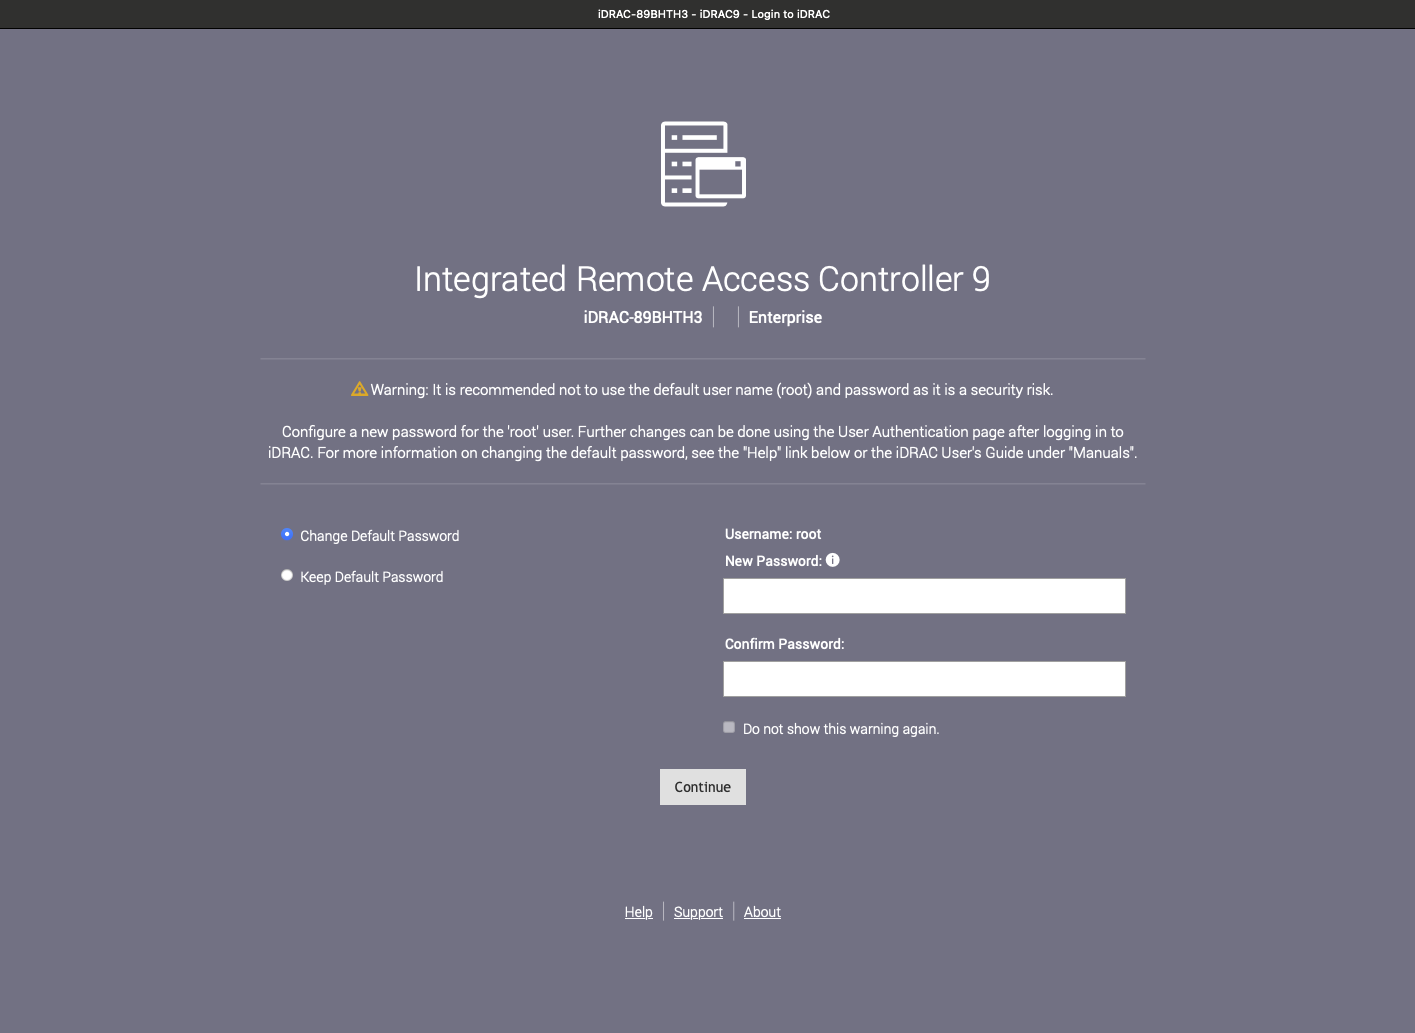
Who is Calvin, btw?
Explored iDRAC, just browsing through the different tabs and playing around. I was able to use the Virtual Console to see exactly what is being displayed in the VGA display or console, from my browser. From here on, I don’t even need the VGA cables I bought!
I think that iDRAC is a great tool because it allows me to access the server remotely as if I am physically beside the hardware. I can power it on and off, and enter BIOS setup, etc. There is definitely a lot more than that, but for now my next task is to install ESXi into this bad boy.
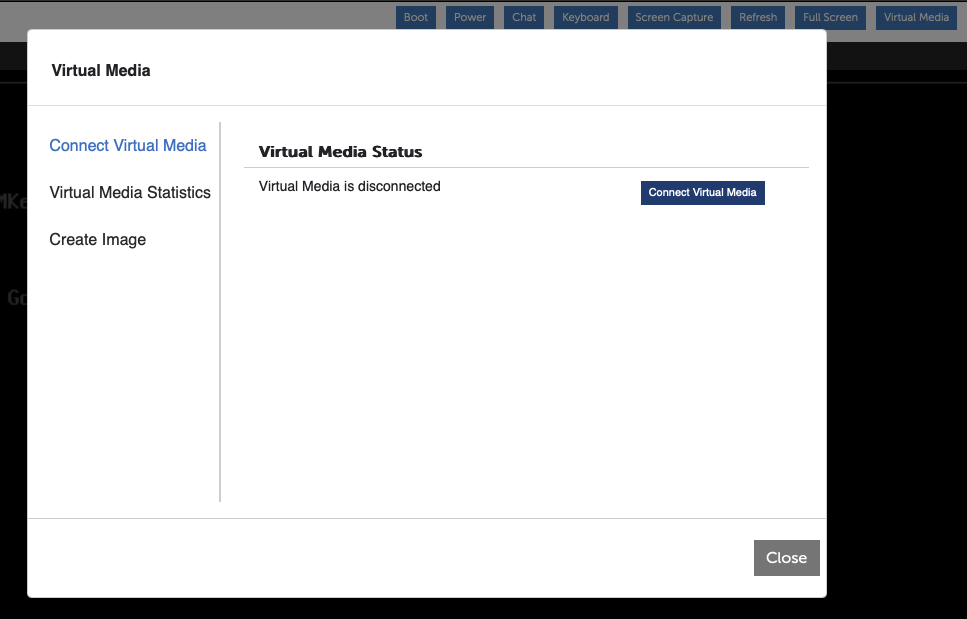
I clicked “Virtual Media” from the top menu of the Virtual Console, and clicked “Connect Virtual Media”
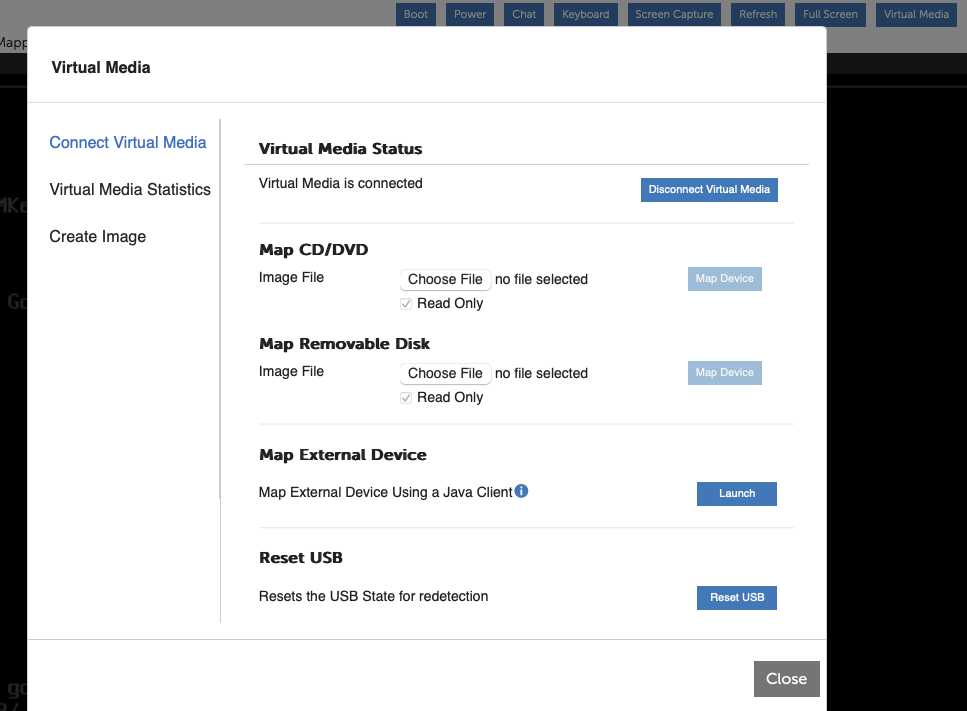
Earlier, I have downloaded the ESXi ISO for Dell from the Broadcom download page.
Chose the ISO that I downloaded.
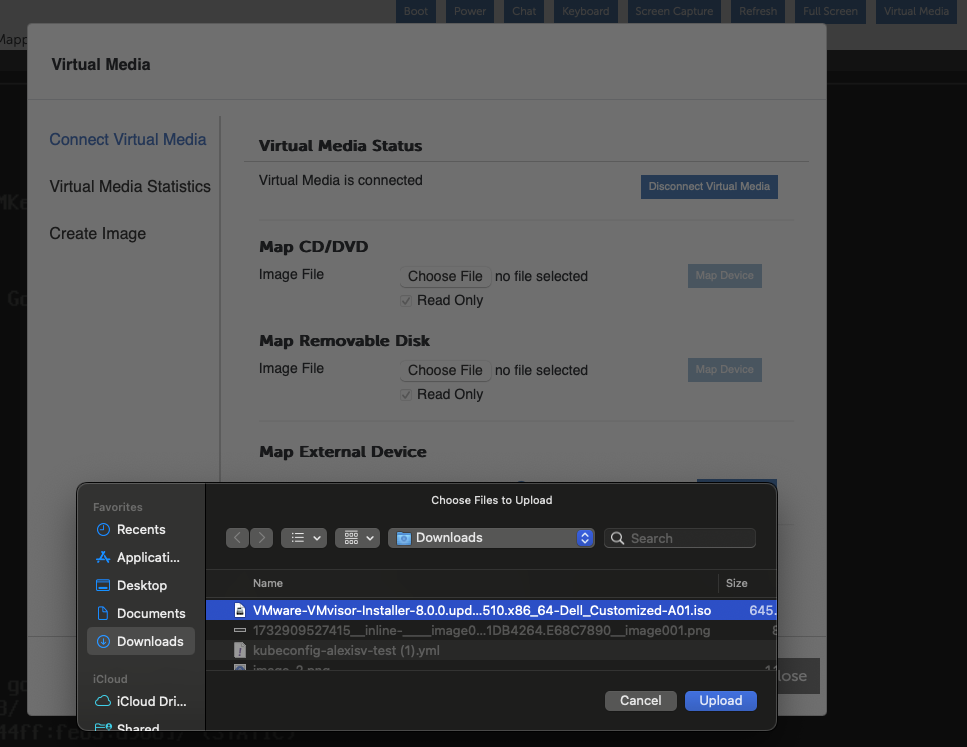
Clicked “Map Device”.
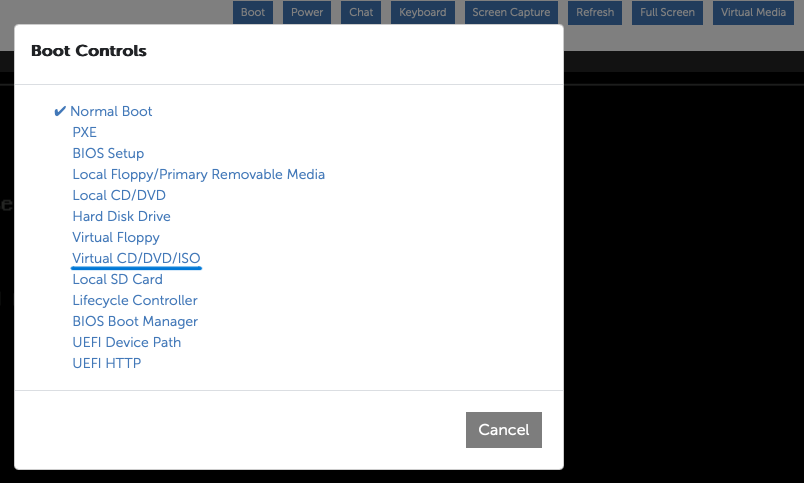
Then, boot the Virtual CD/DVD/ISO.
Next up, ESXi installation.