Installing ESXi
I have downloaded the ESXi installer from the Broadcom download portal. I chose to download the custom ISO file for Dell. The file name was:
VMware-VMvisor-Installer-8.0.0.update03-24414501.x86_64-Dell_Customized-A03.iso
The installation was straightforward. It didn’t take a lot of time too.
The following is the series of steps and the screens that I captured as the installation progressed to completion. I used iDRAC’s Virtual Console to see the main console of the server and to mount the ISO file as a virtual DVD.
While the server was powered off, I mounted the ISO file as a virtual DVD.
Click Virtual Media from the top row:

Click “Choose File” under “Map CD/DVD”:
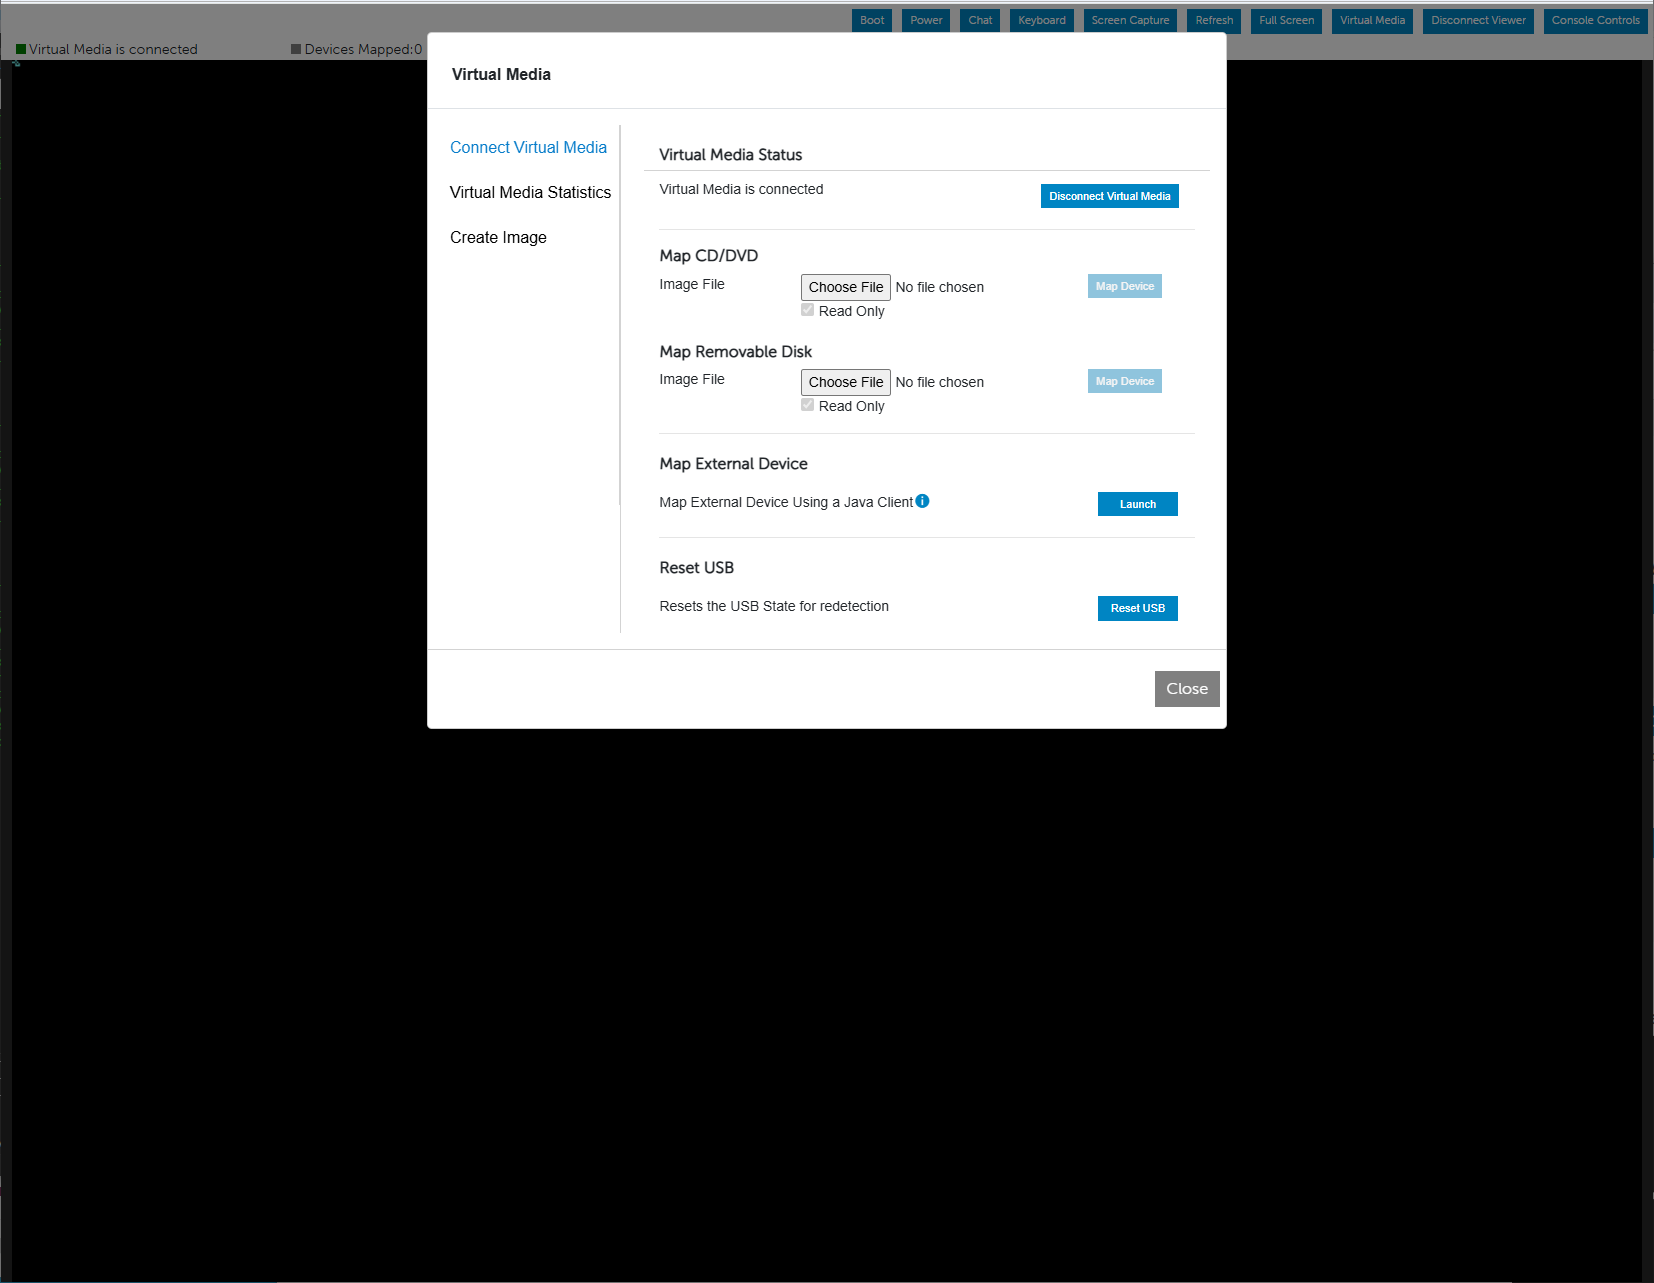
Find and open the installer ISO file:
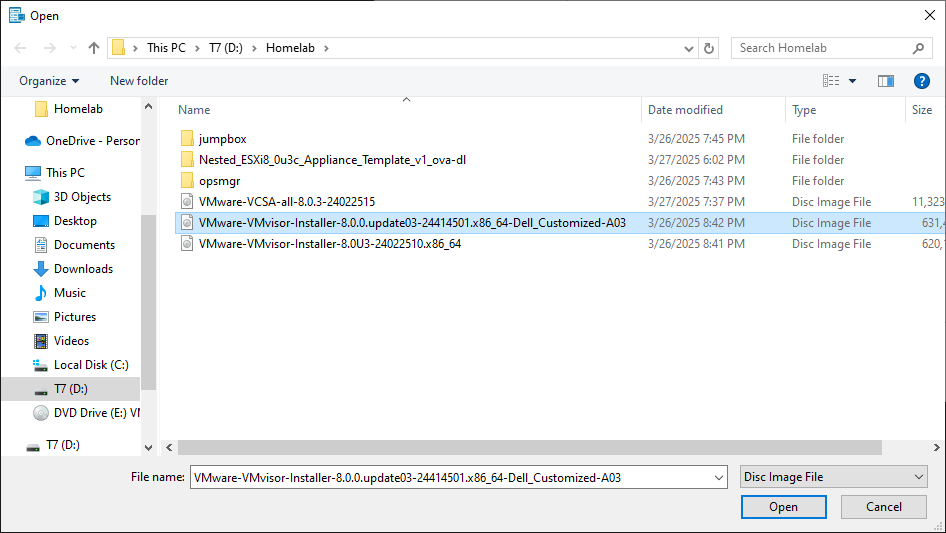
Click “Map Device”:
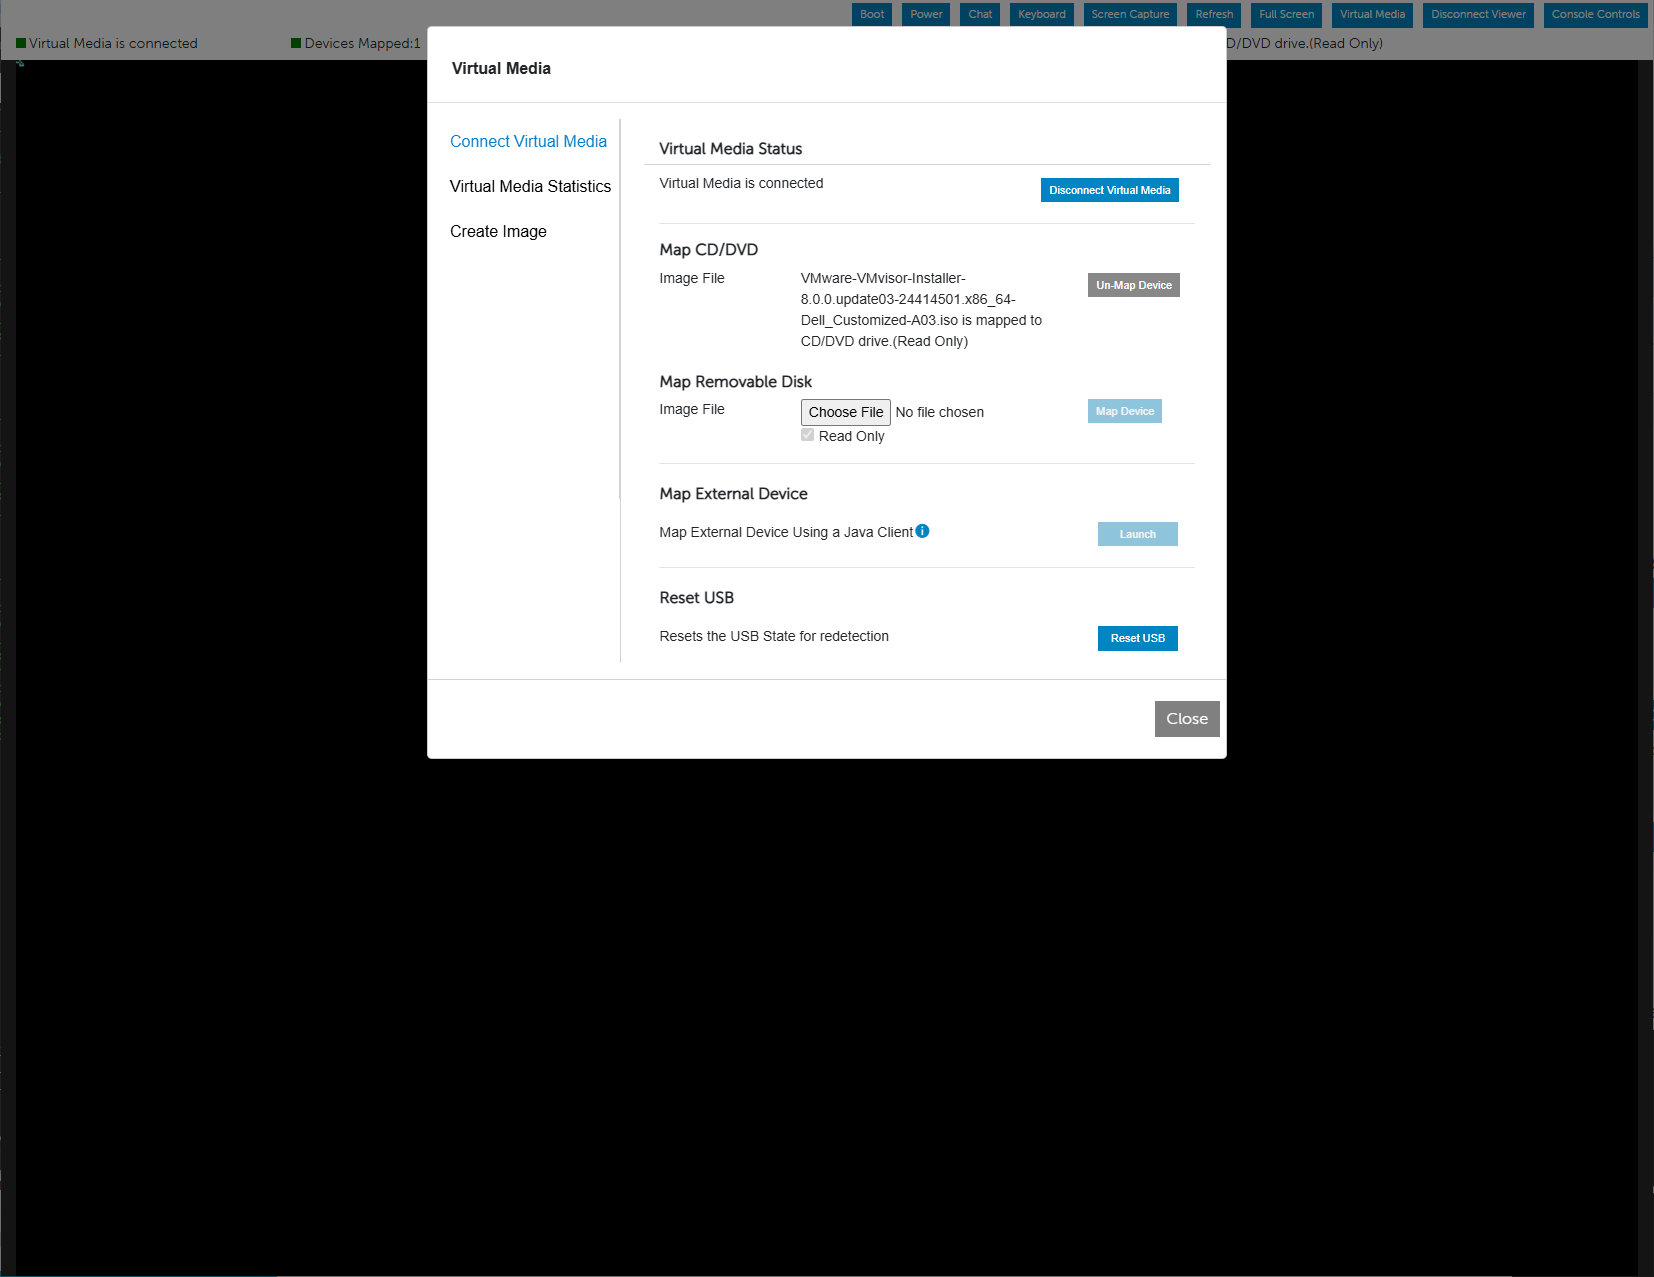
Click “Boot” from the top row, and then click “Virtual CD/DVD/ISO”:
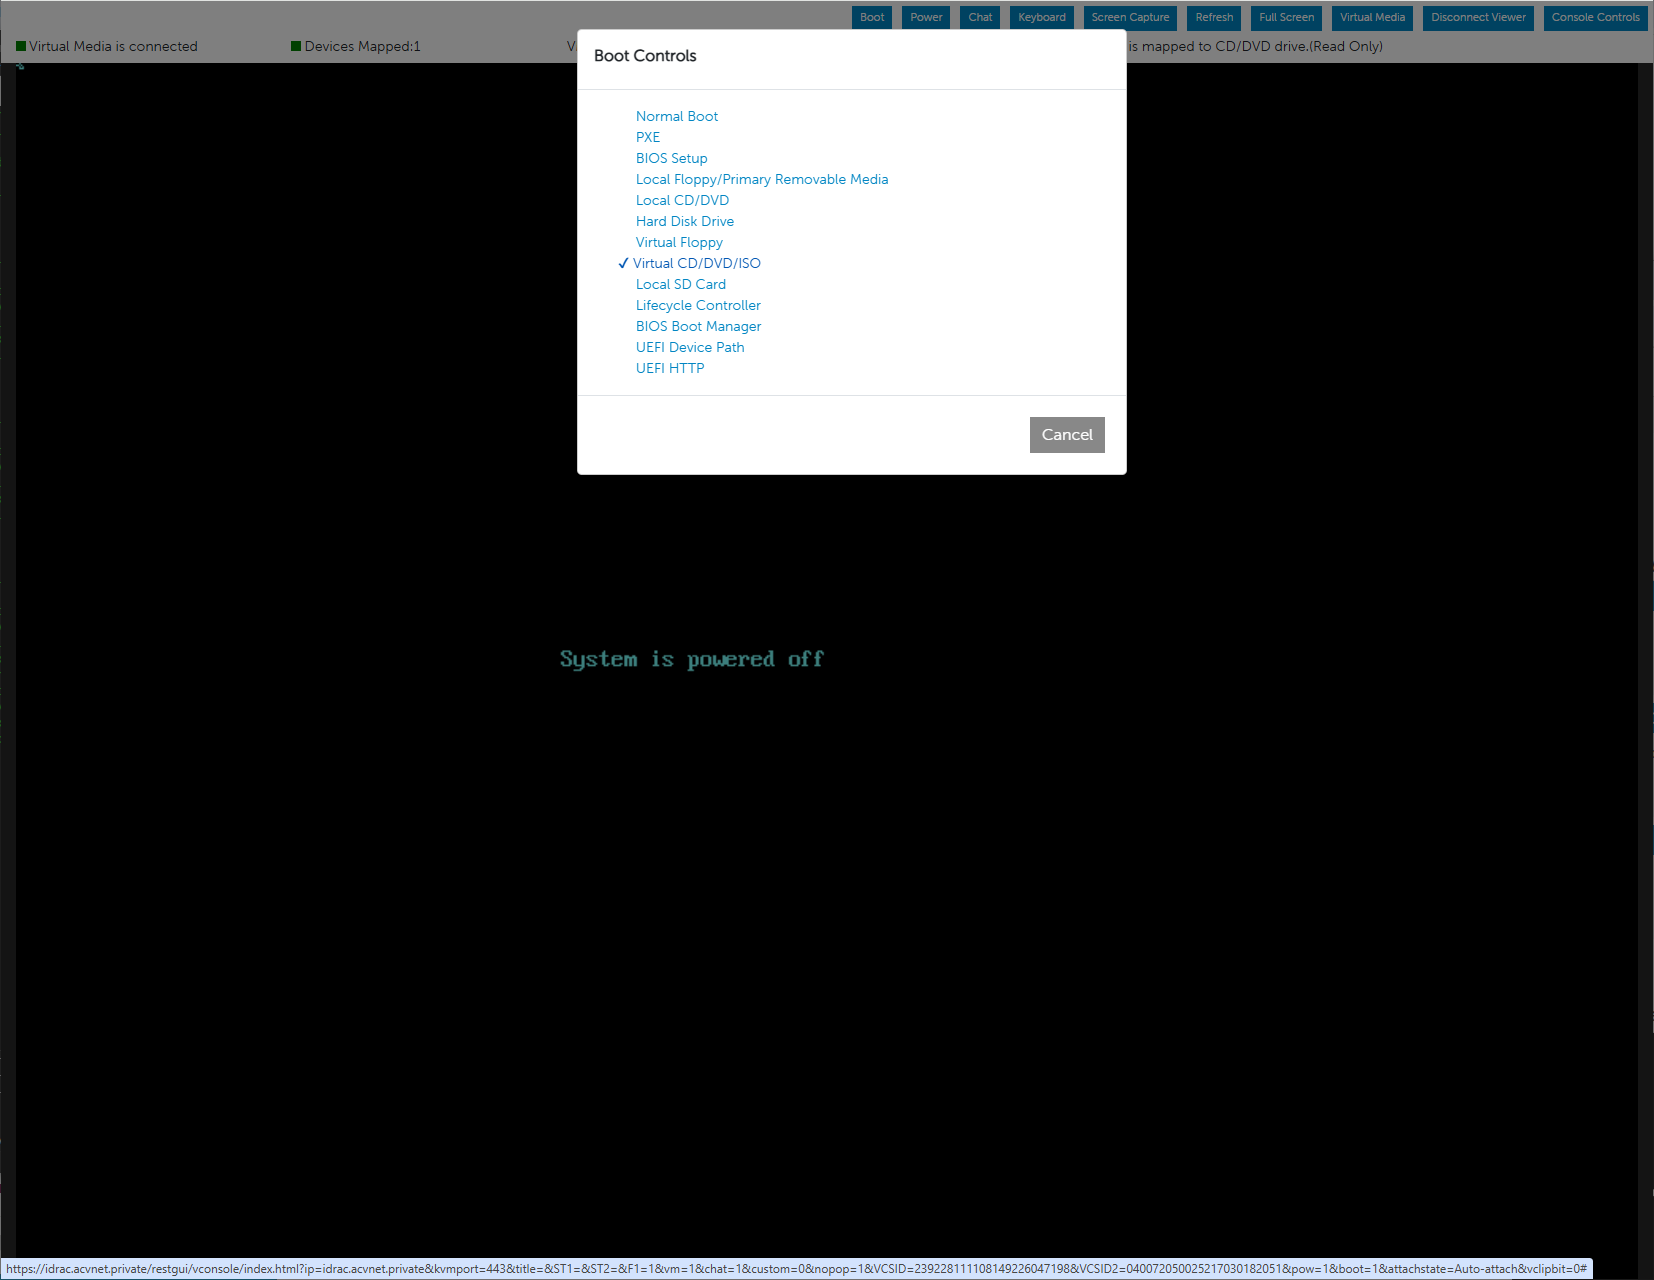
Click “Power” from the top row, and then click “Power On System”. The server will boot up and will switch screens a few times as such:
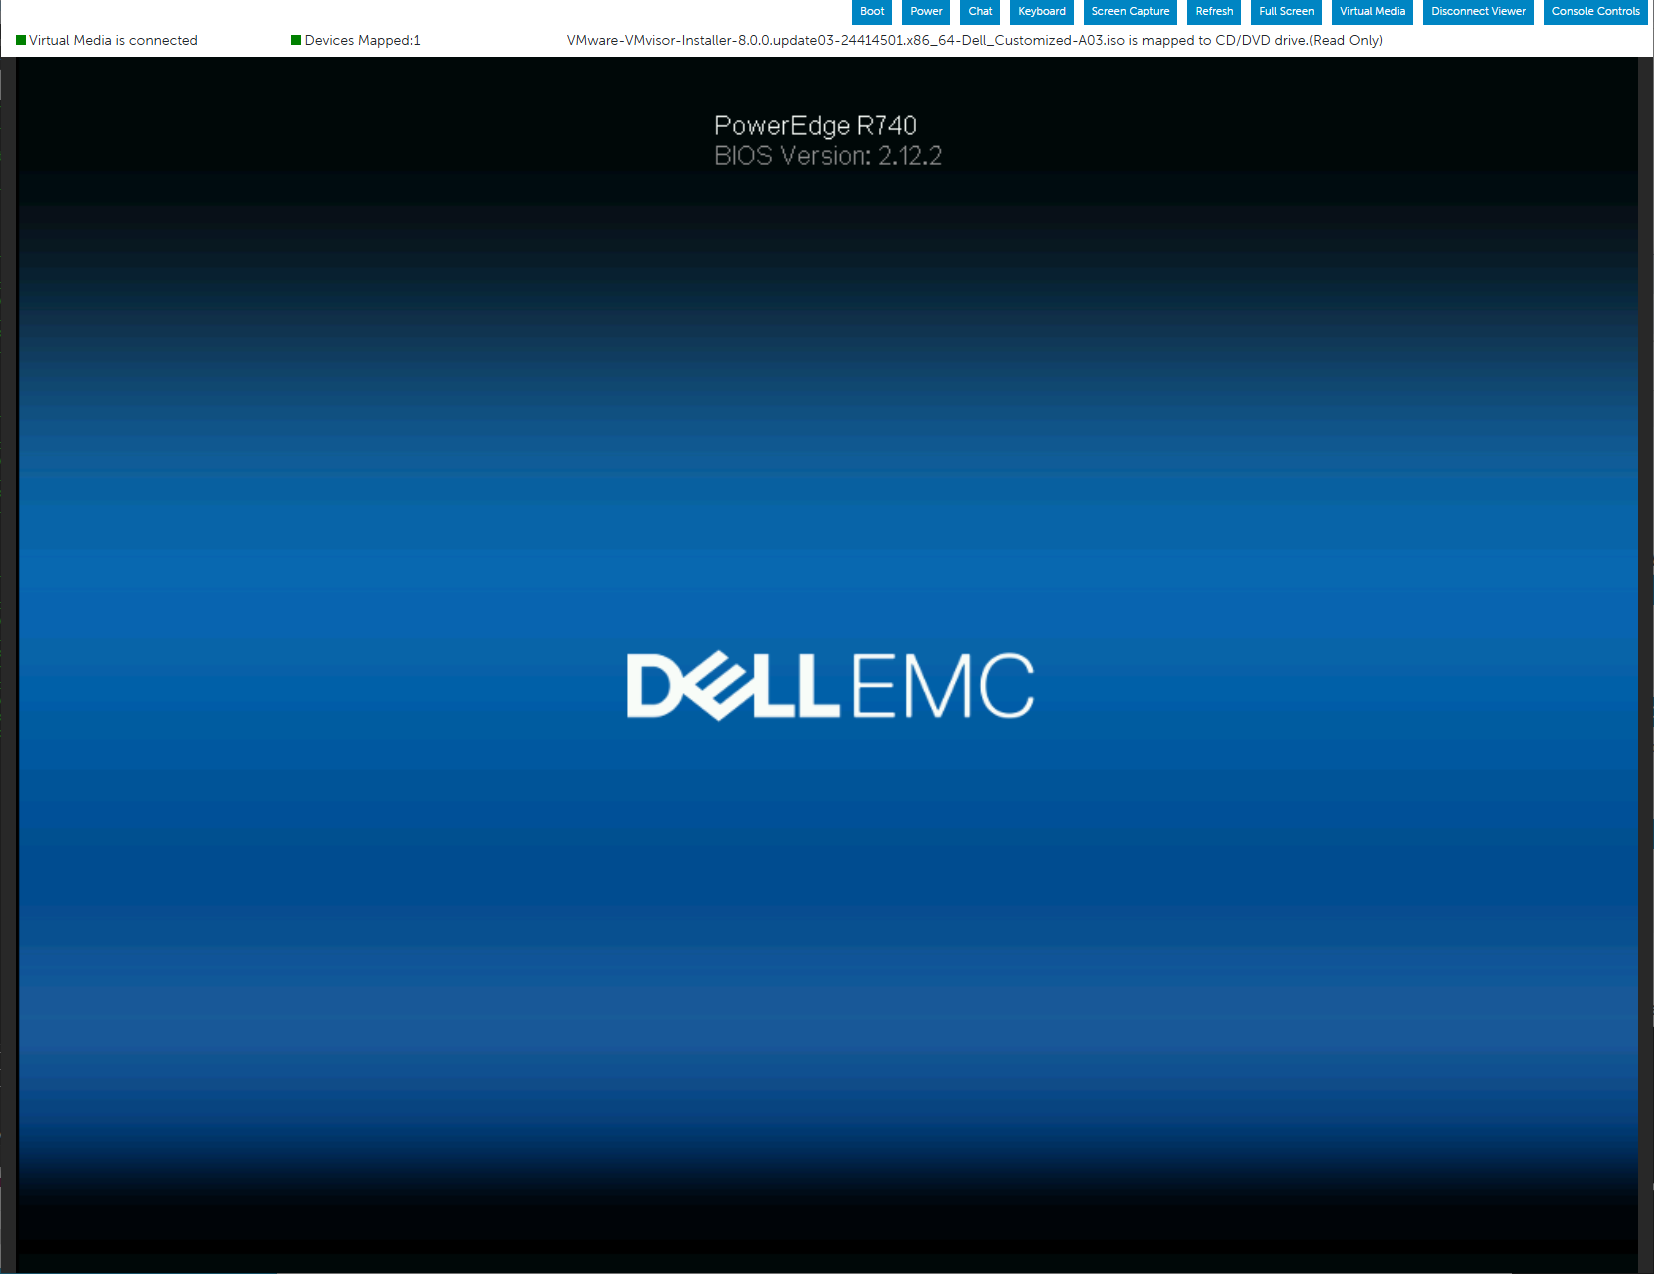
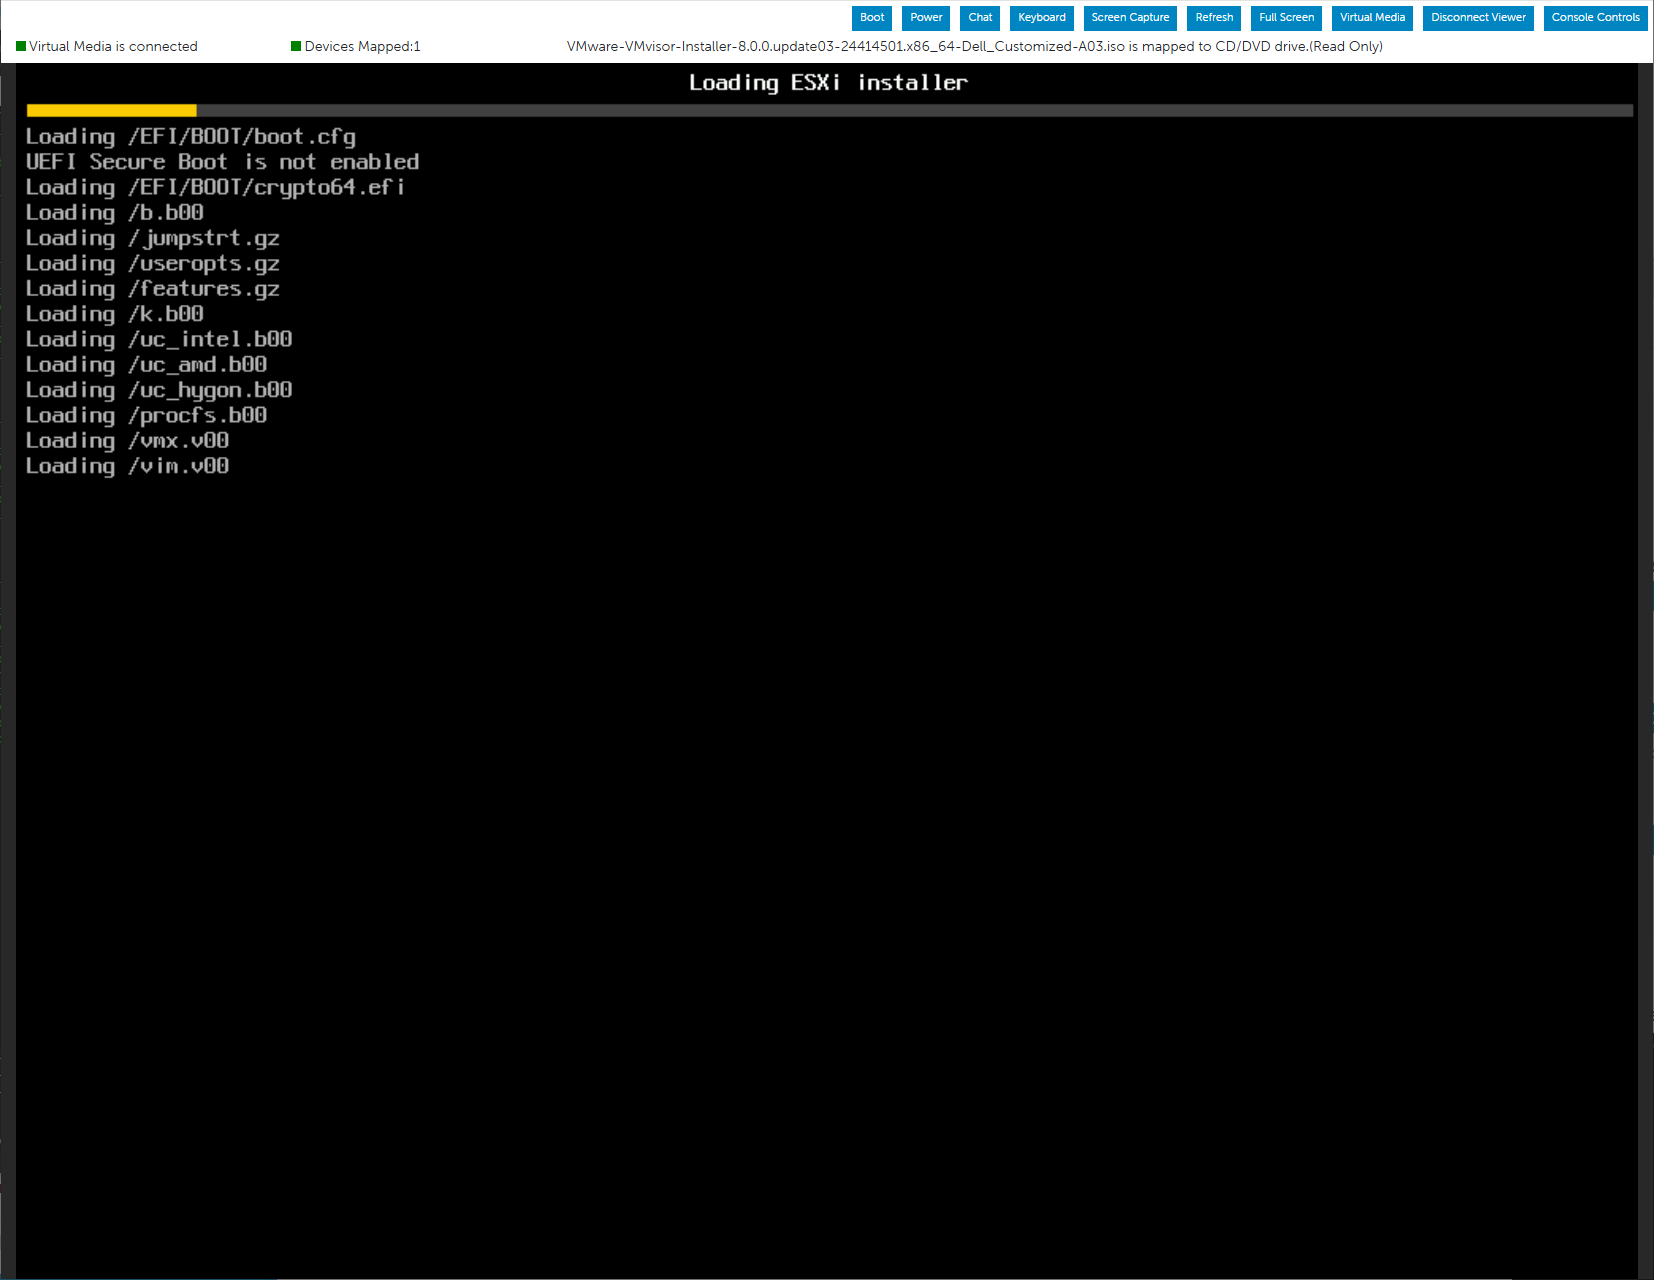
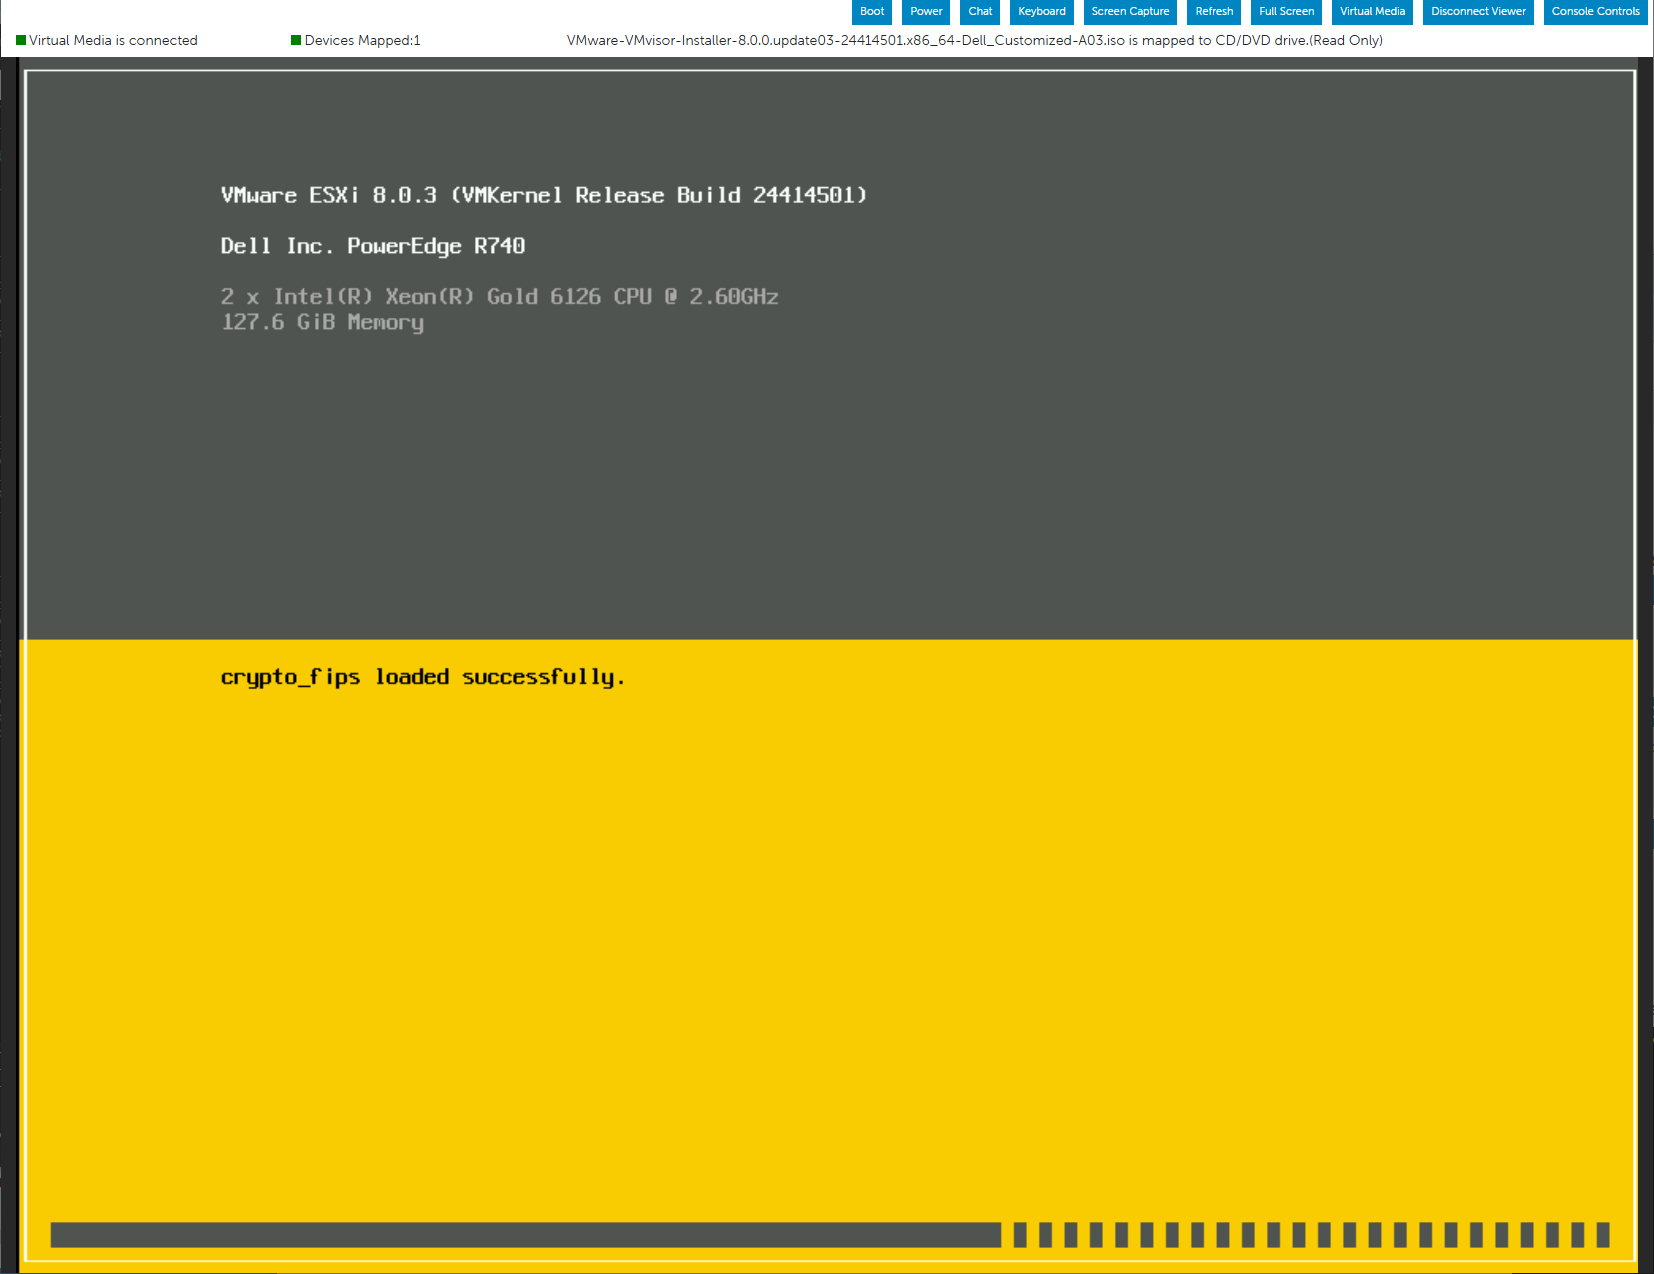
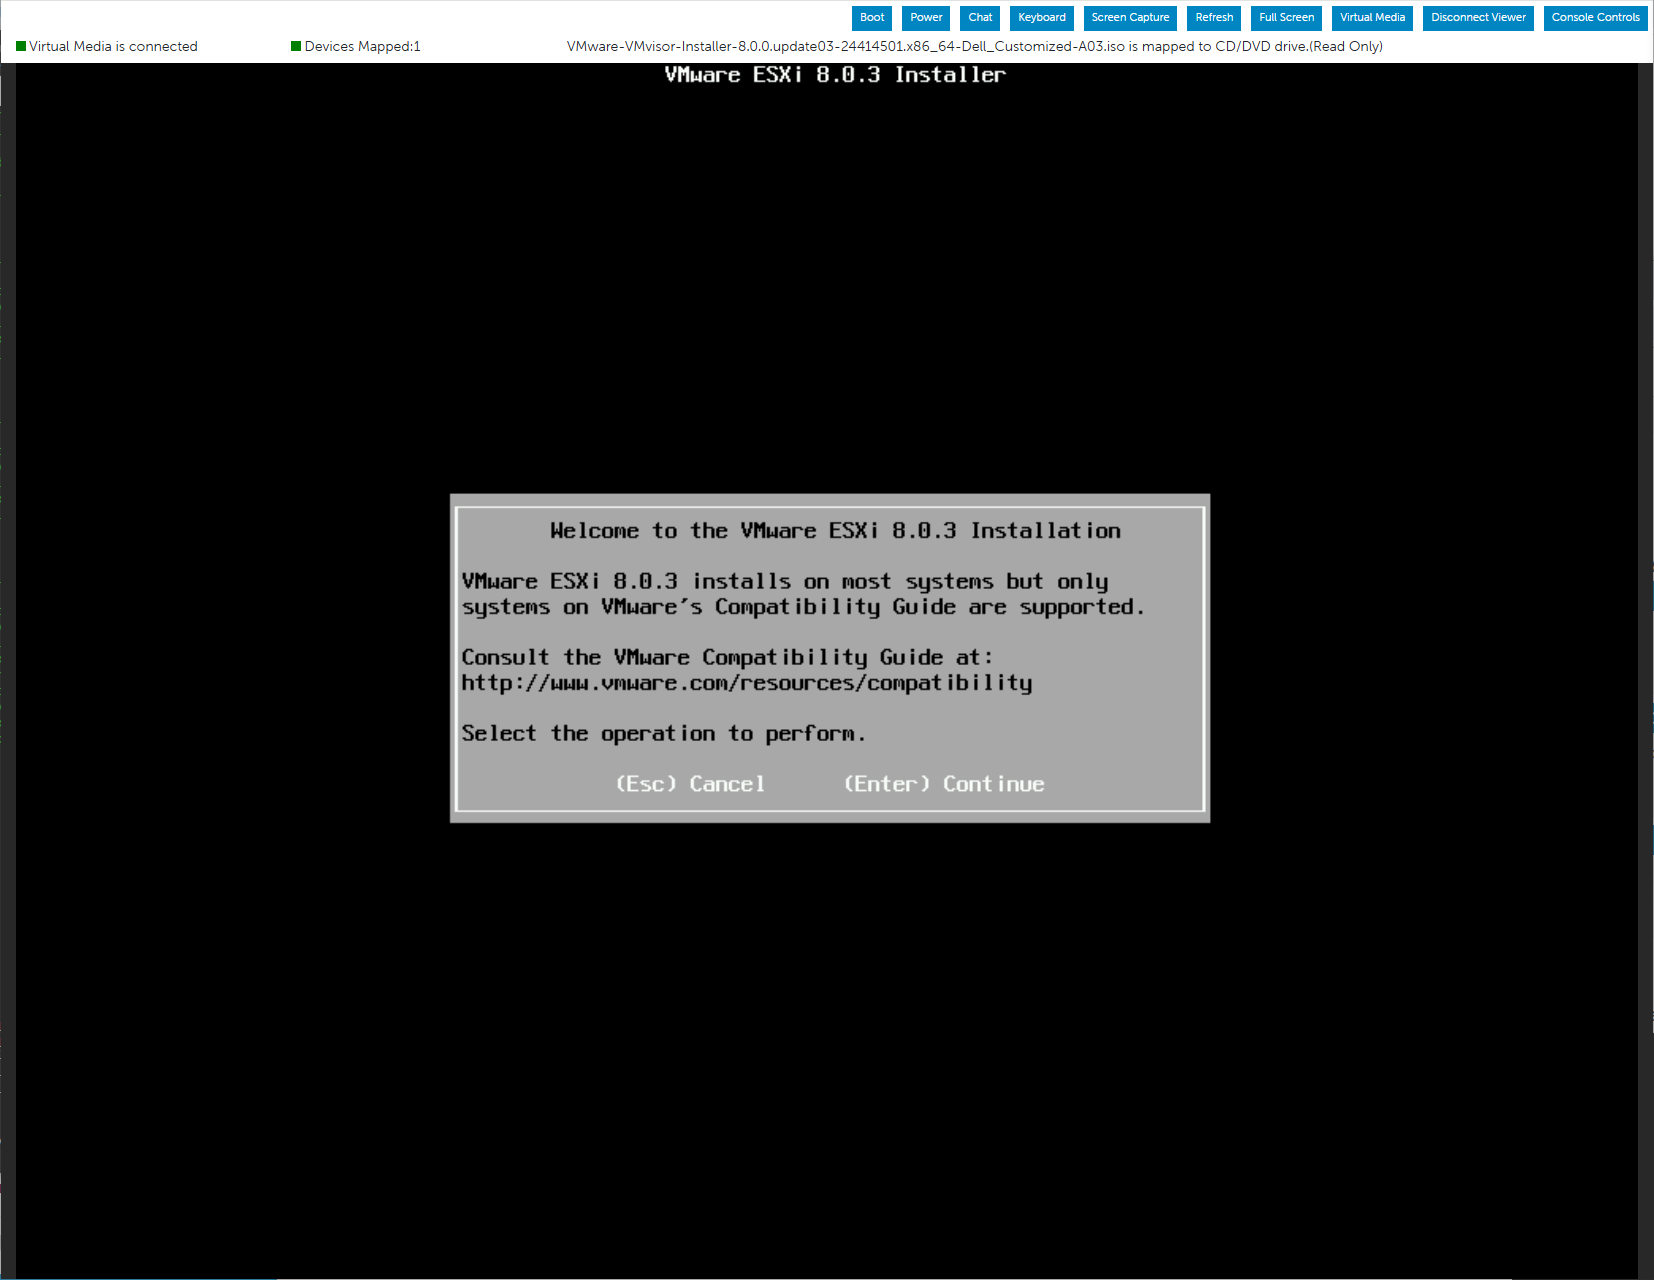
Welcome to the VMware ESXi 8.0.3 Installation! Just press Enter at this screen.
Press F11 to accept the EULA and continue.

Select a disk to install ESXi.

It will scan the disk. Just be patient and wait for it.

Choose how you want to install ESXi.

Choose a keyboard layout.

Enter a root password of your choice.

Press Enter to continue. Nothing much I can do about this warning.

Press F11 to continue installation, and then “watch paint dry”.

Actually, it won’t take long. Installation complete!

Unmap the Virtual Media device and disconnect the Virtual Media.

Press Enter to reboot.

This is what the console looks like when the boot up has completed.

To manage the host, log on to the ESXi Host Client using your browser.

Log on with the “root” username and its password. You’ll be greeted by this screen.

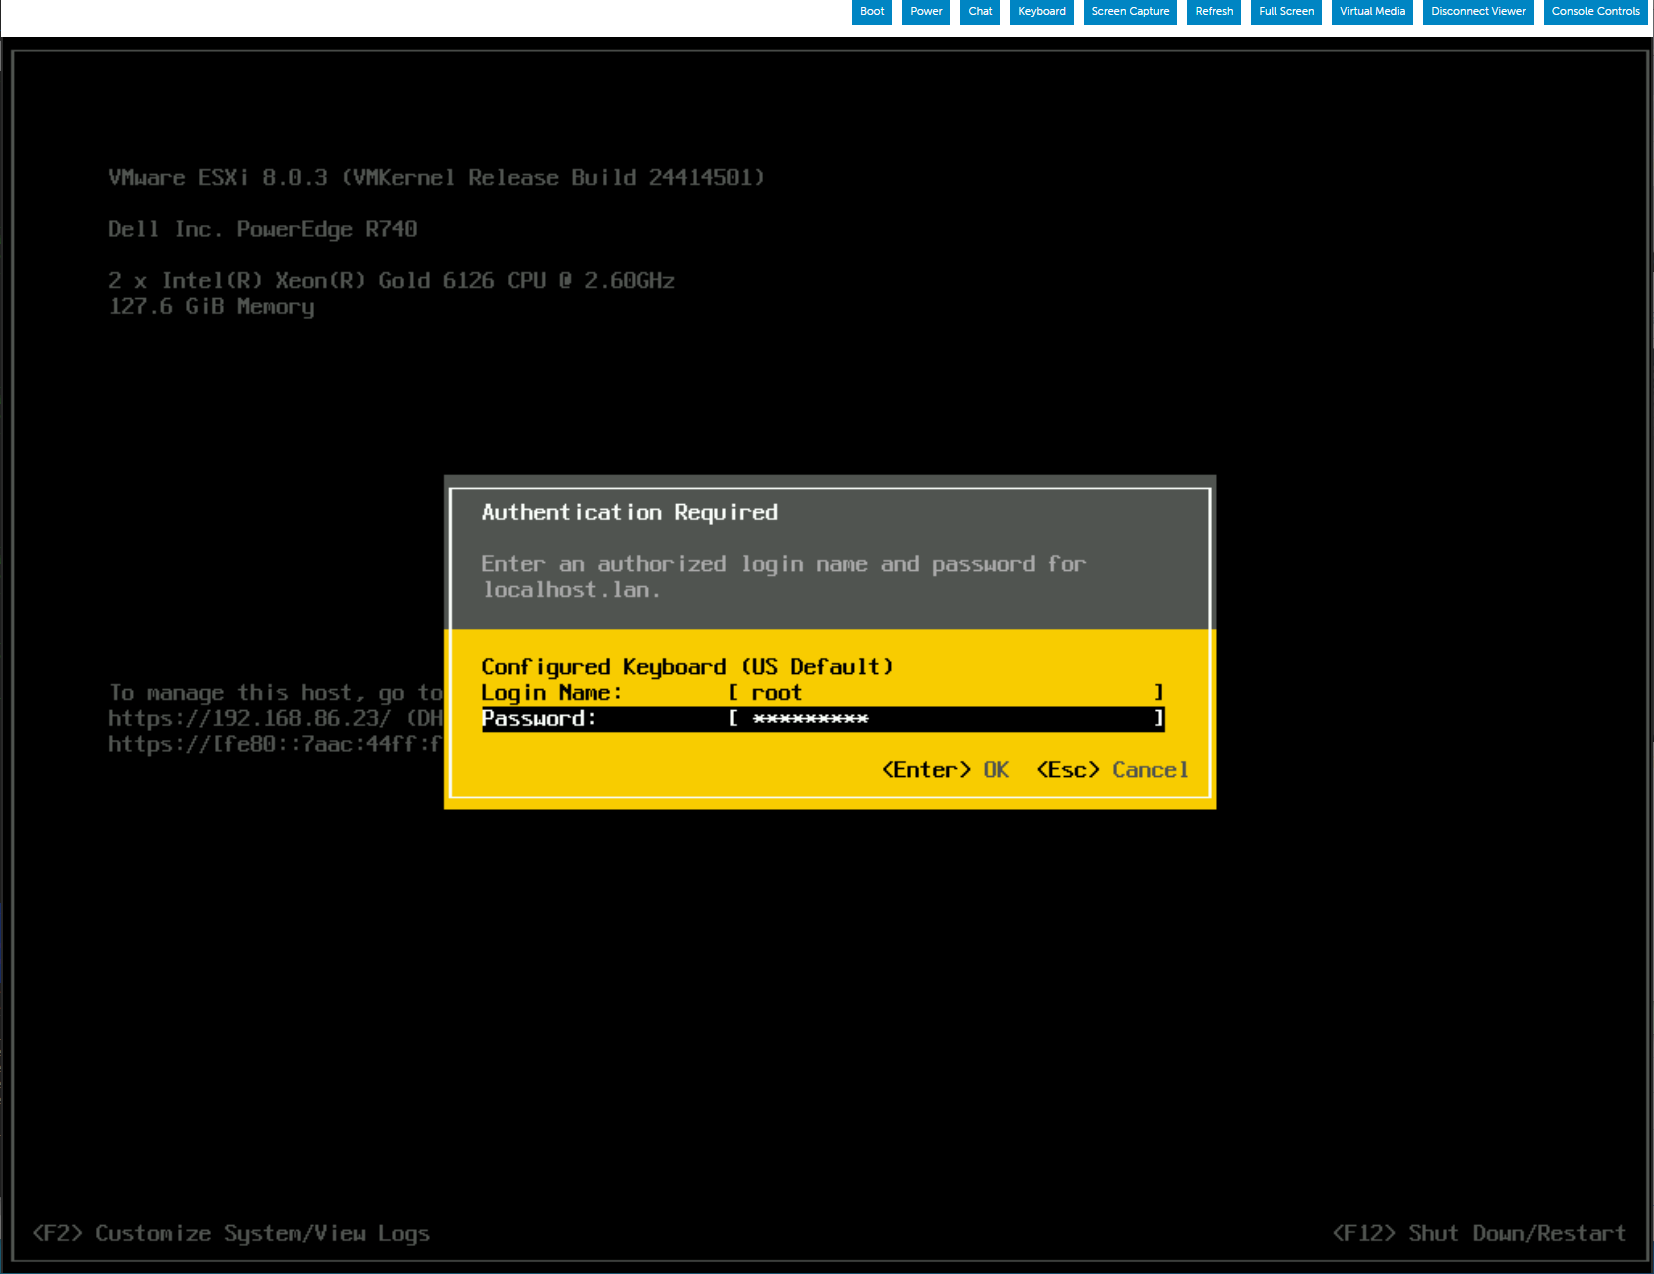
Switch to the console to customize the Management Network settings. Press F2, and log in with the root account and password.
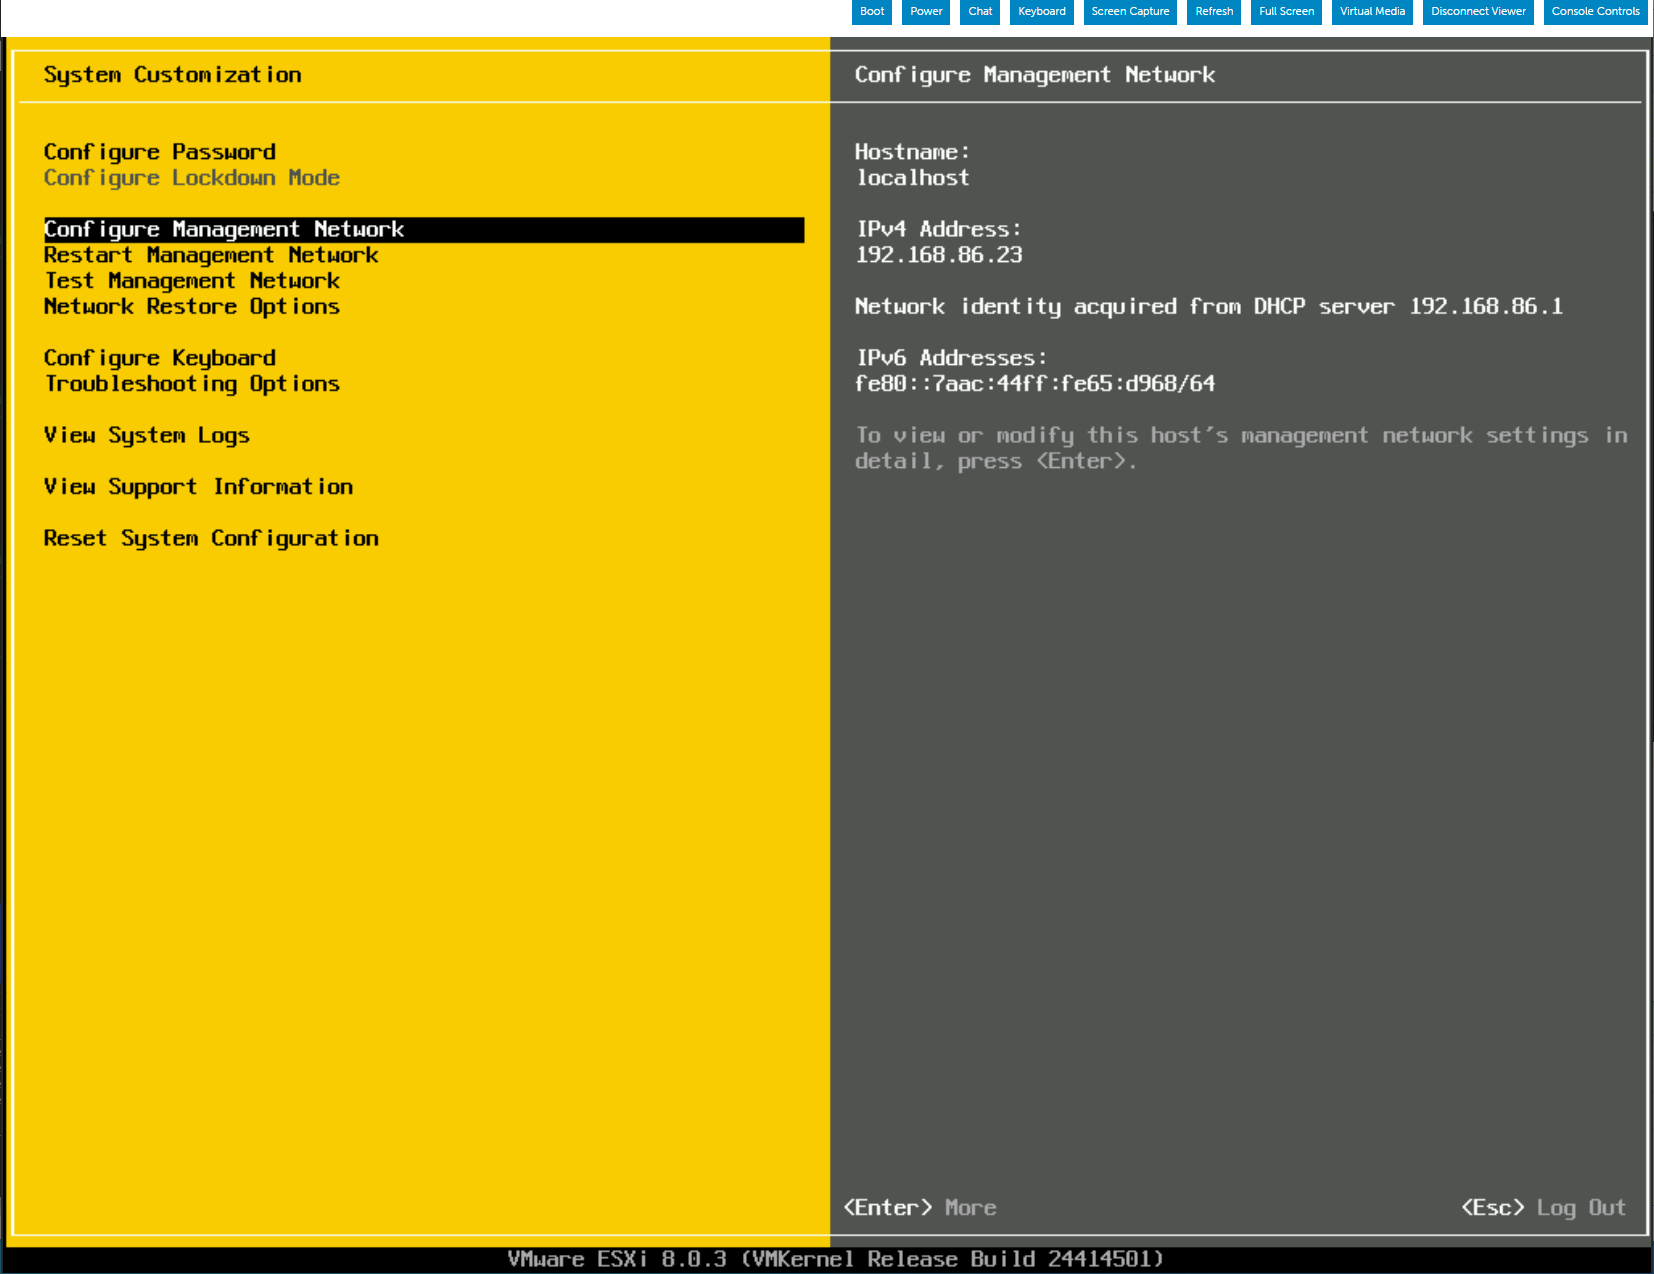
Select “Configure Management Network”.
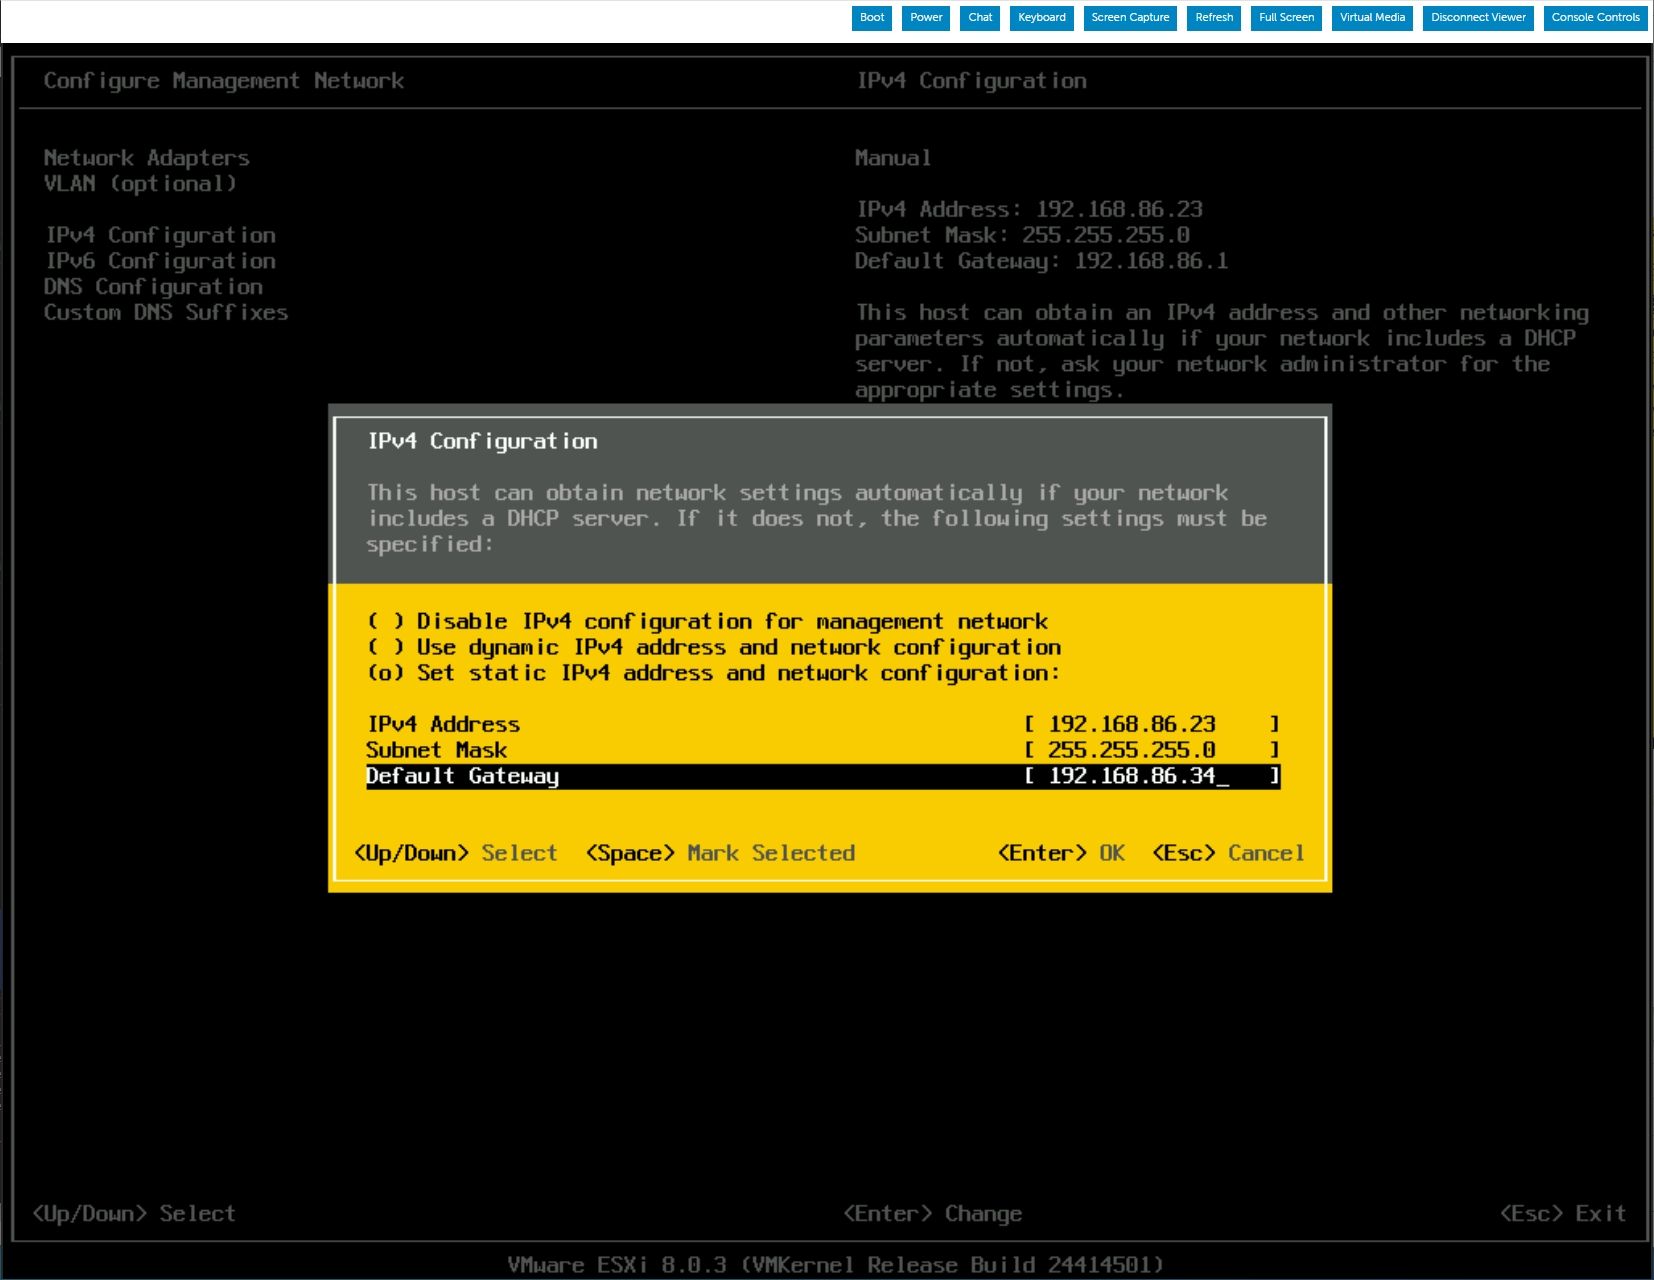
Set a static IP and gateway.
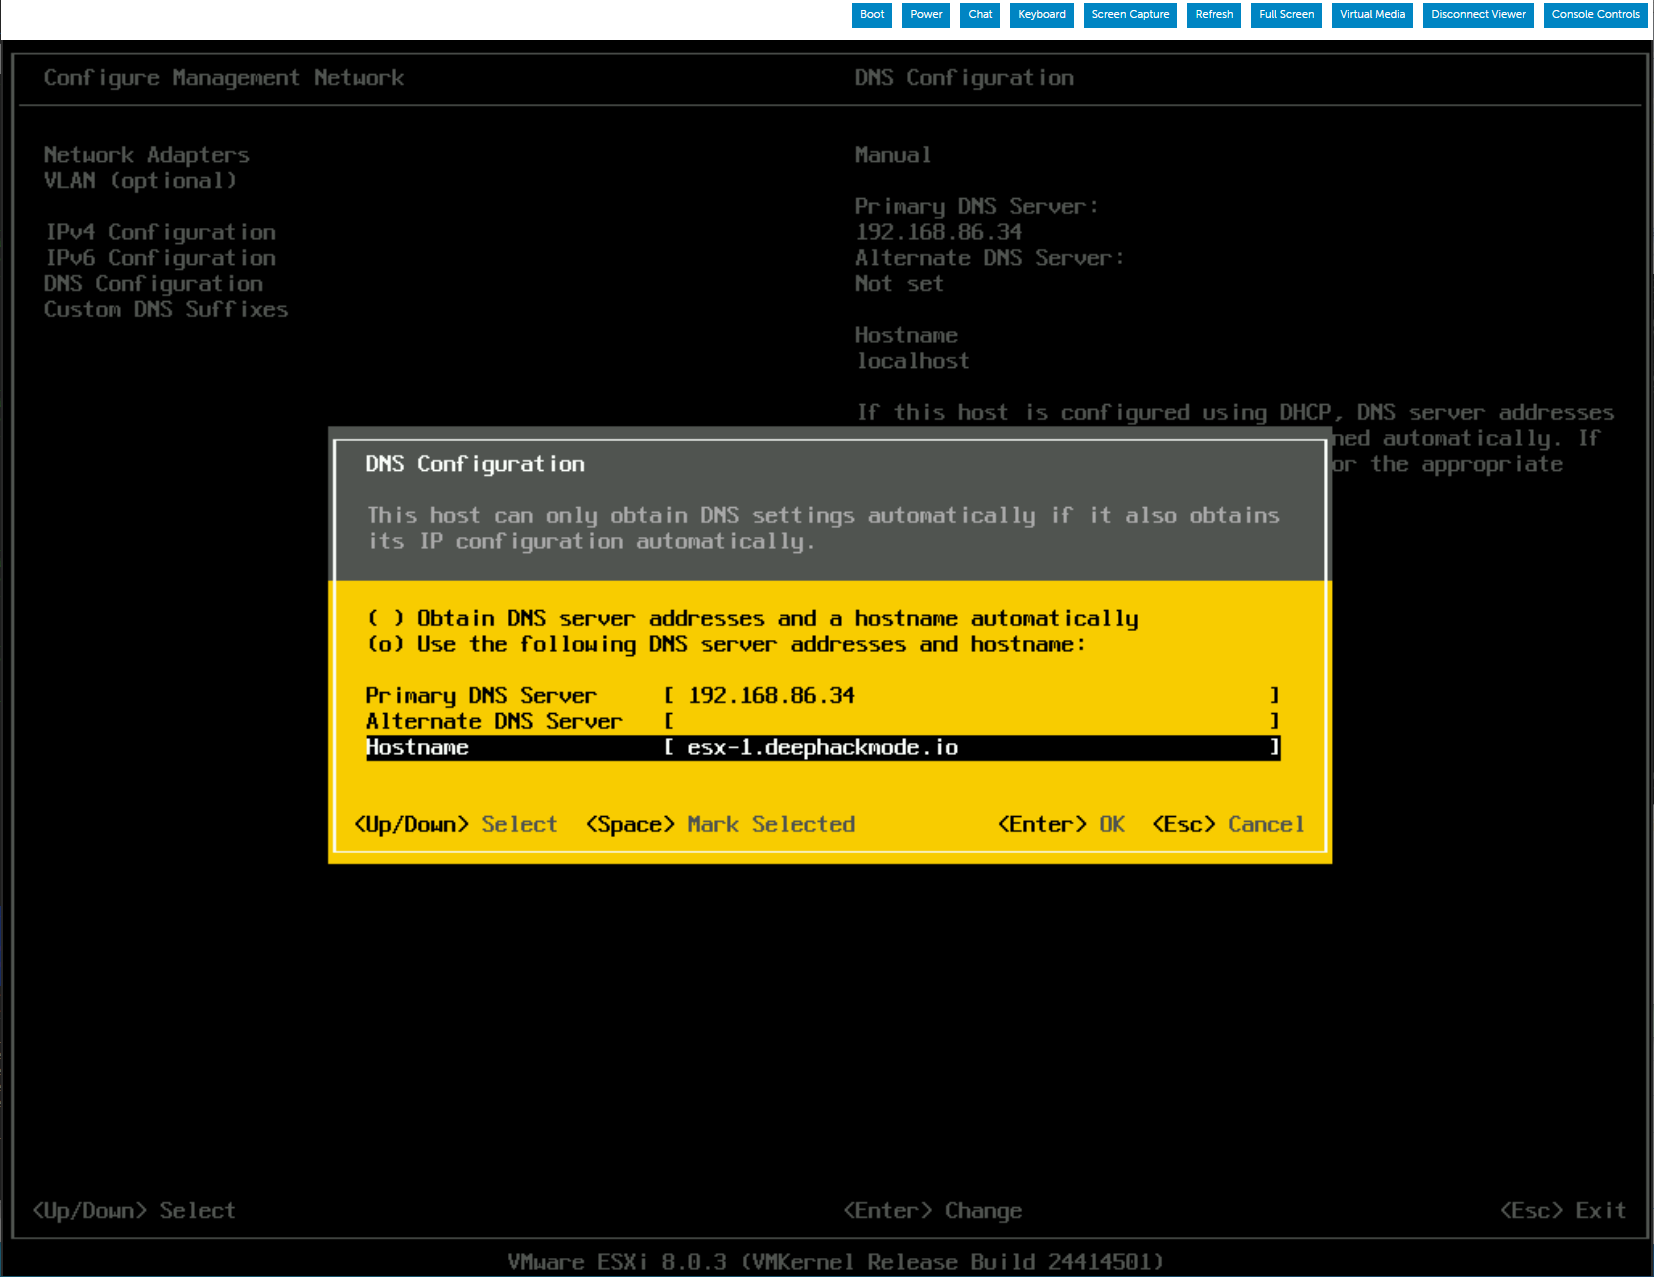
Configure DNS.
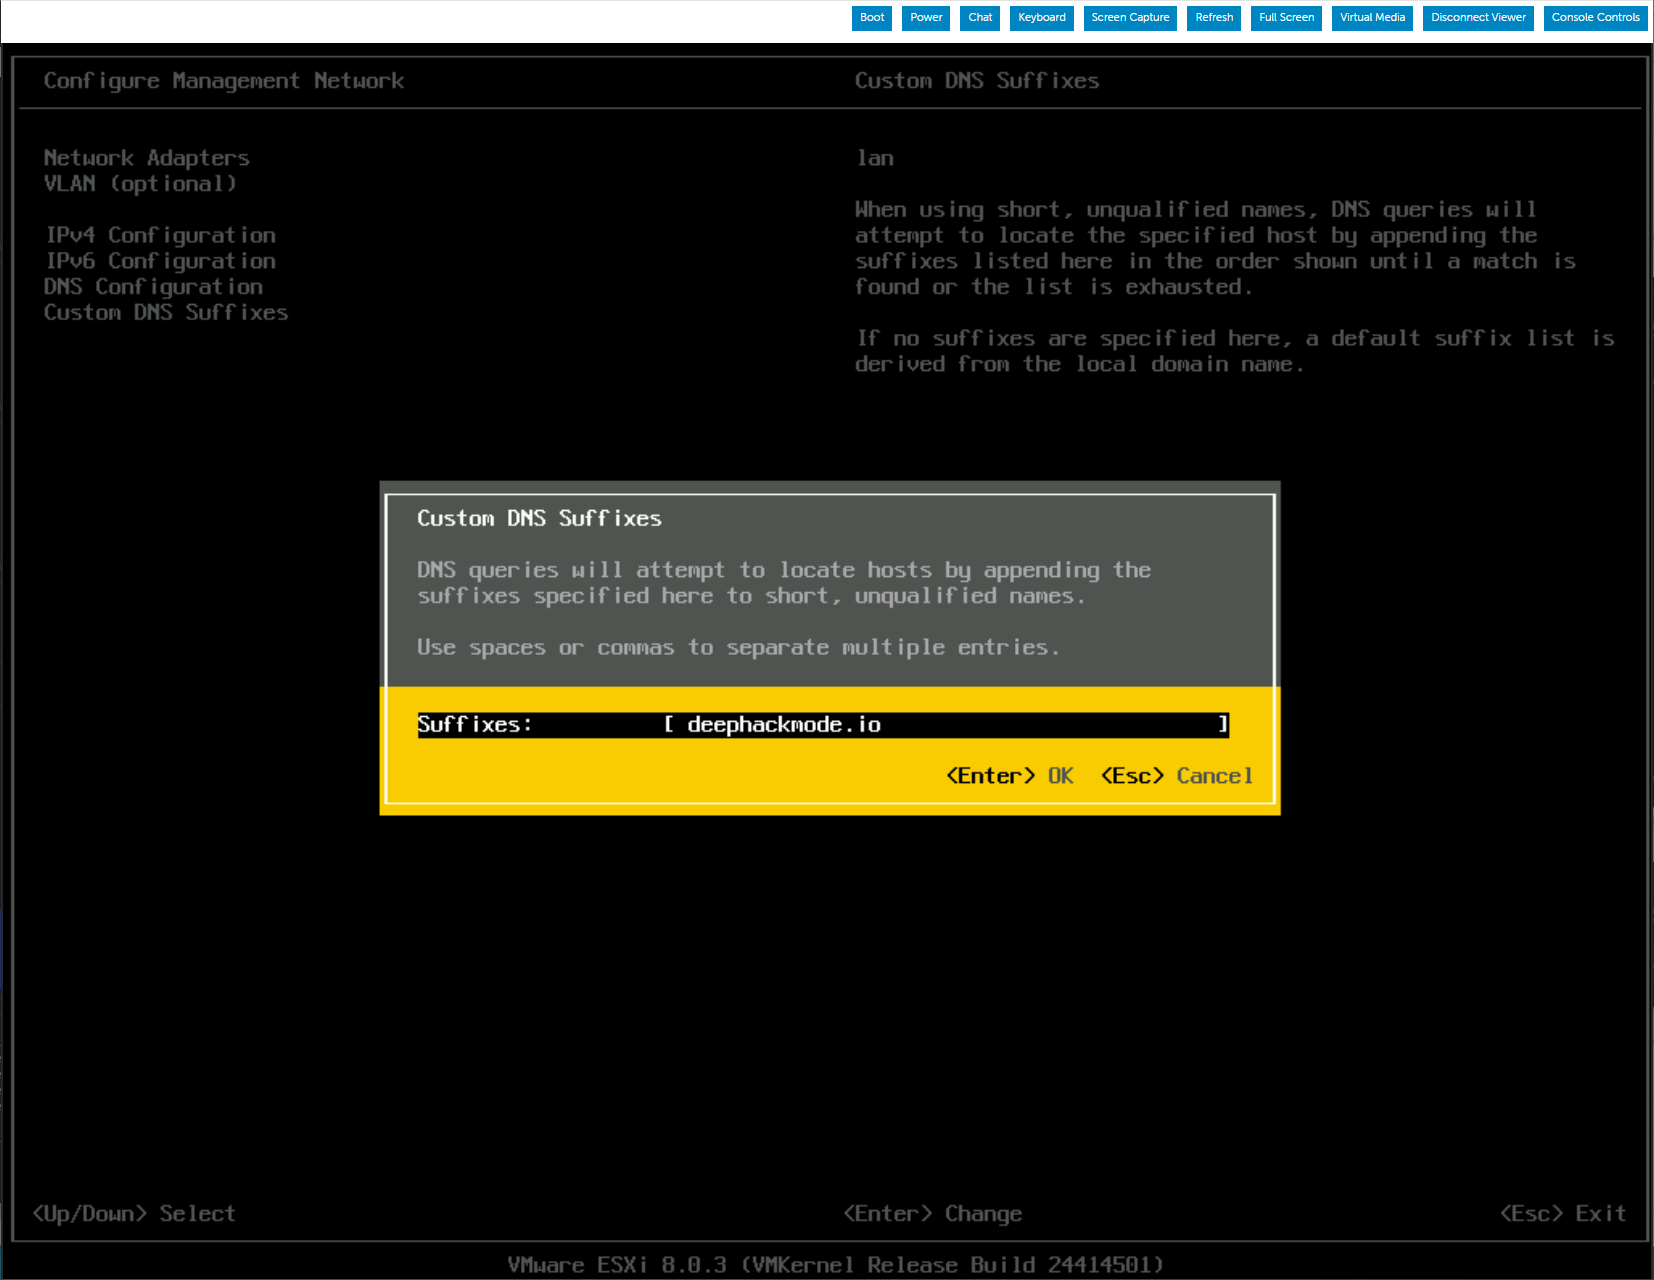
Configure DNS Suffixes.
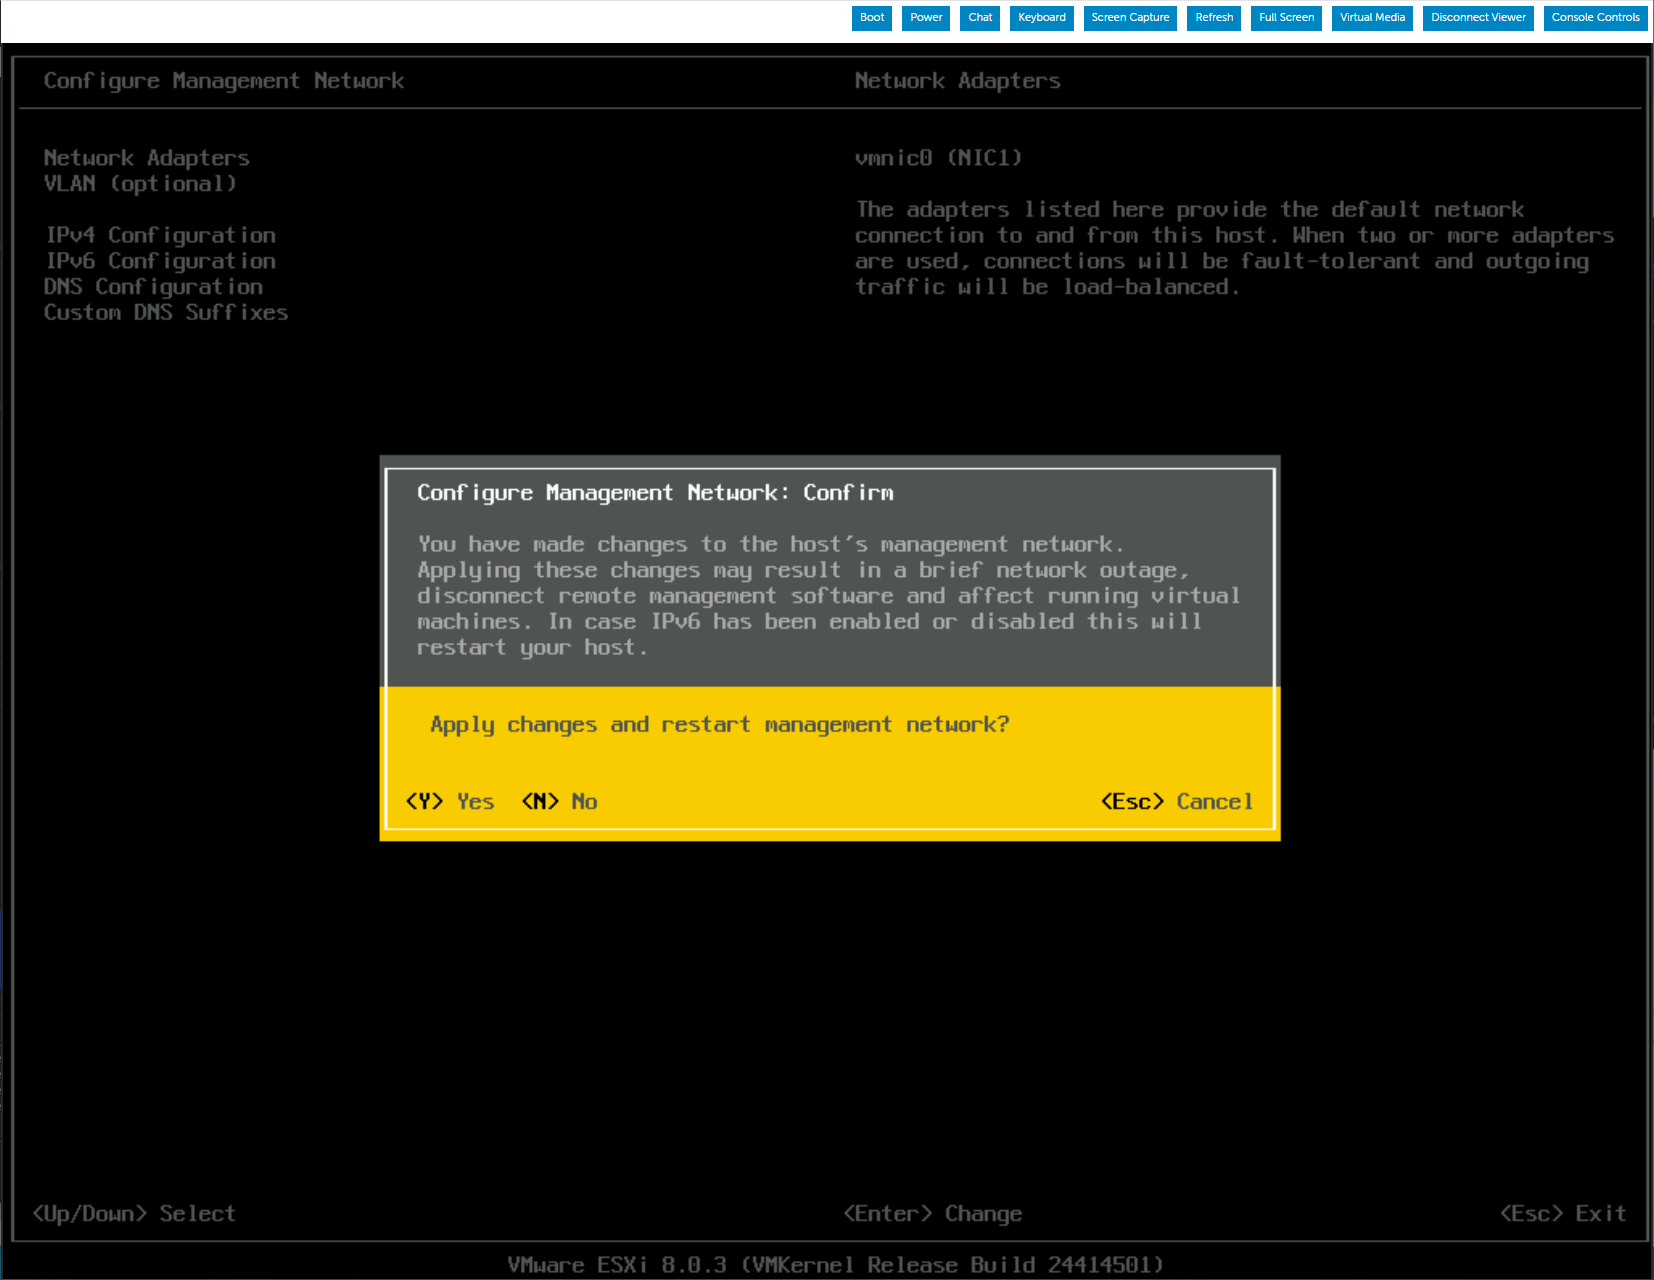
Save your changes.
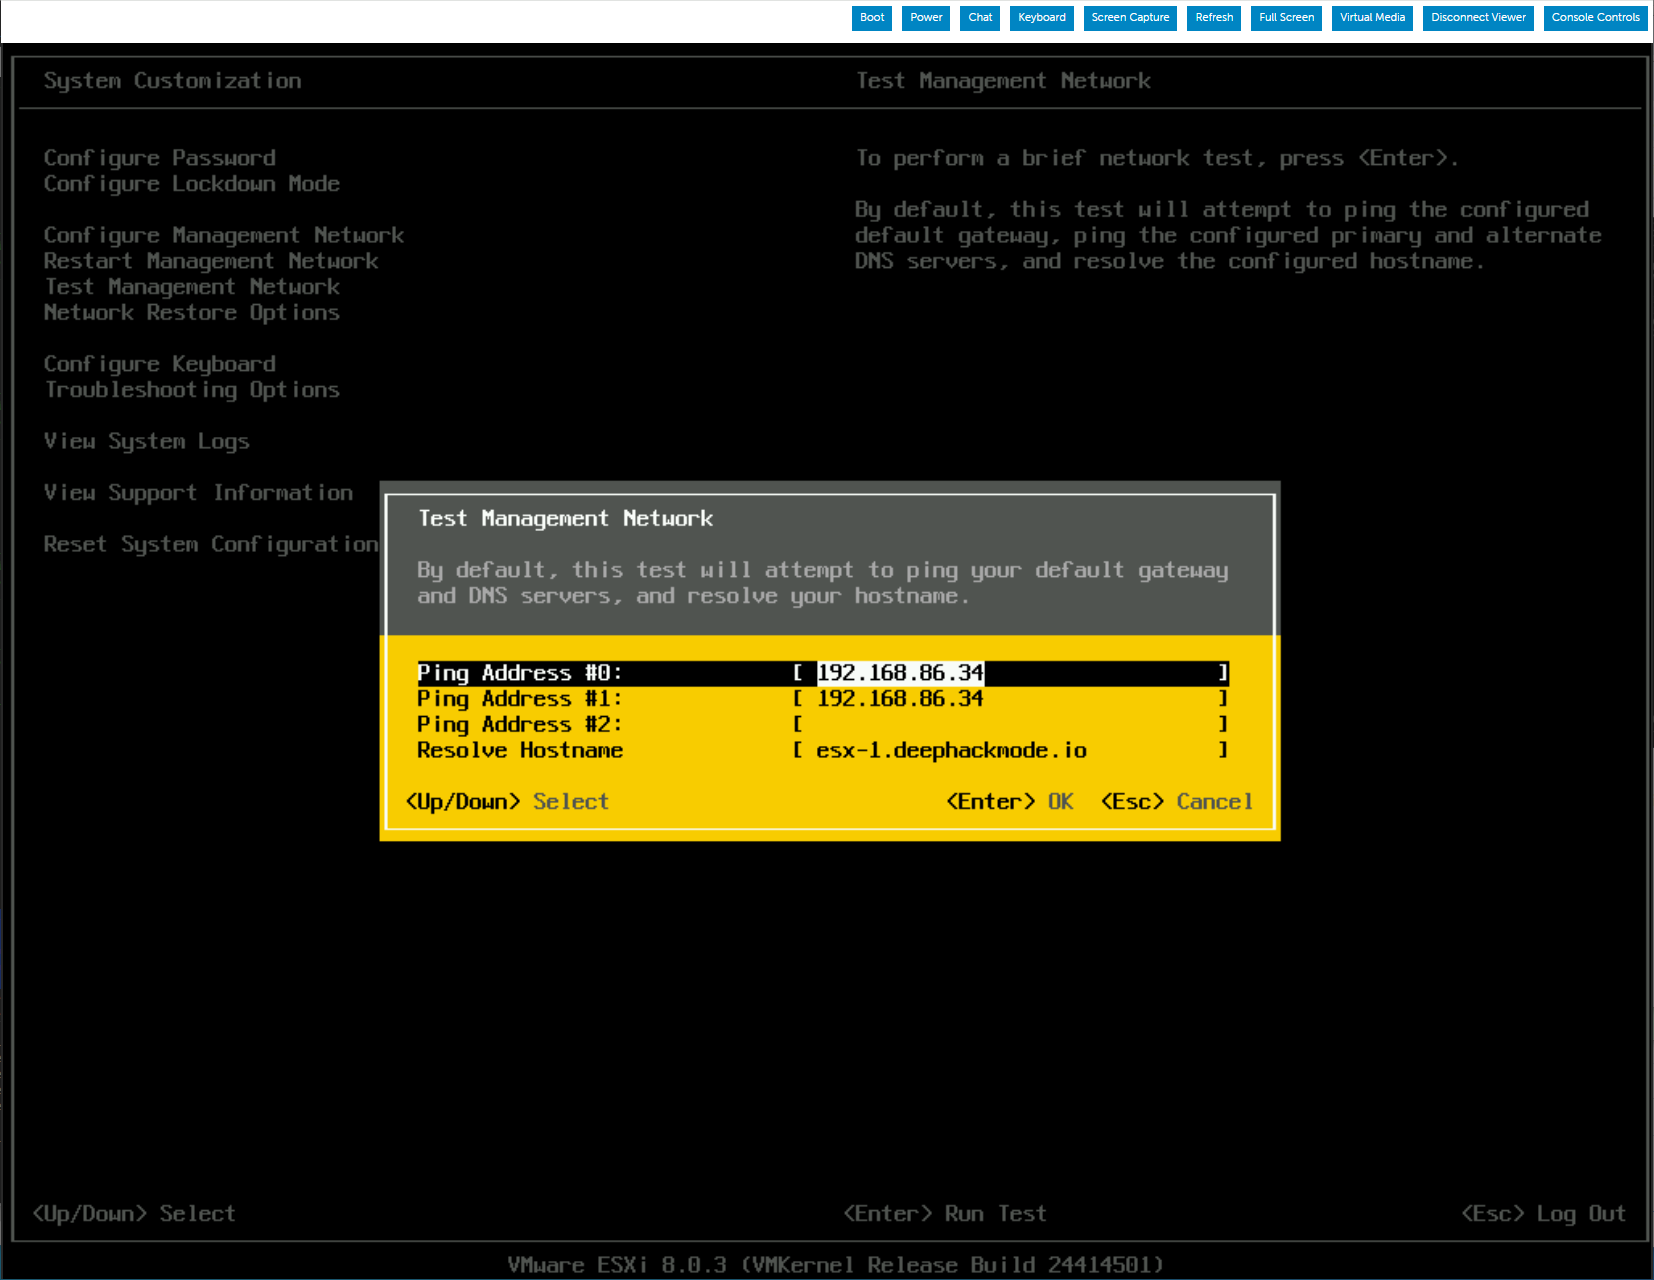
Test settings.
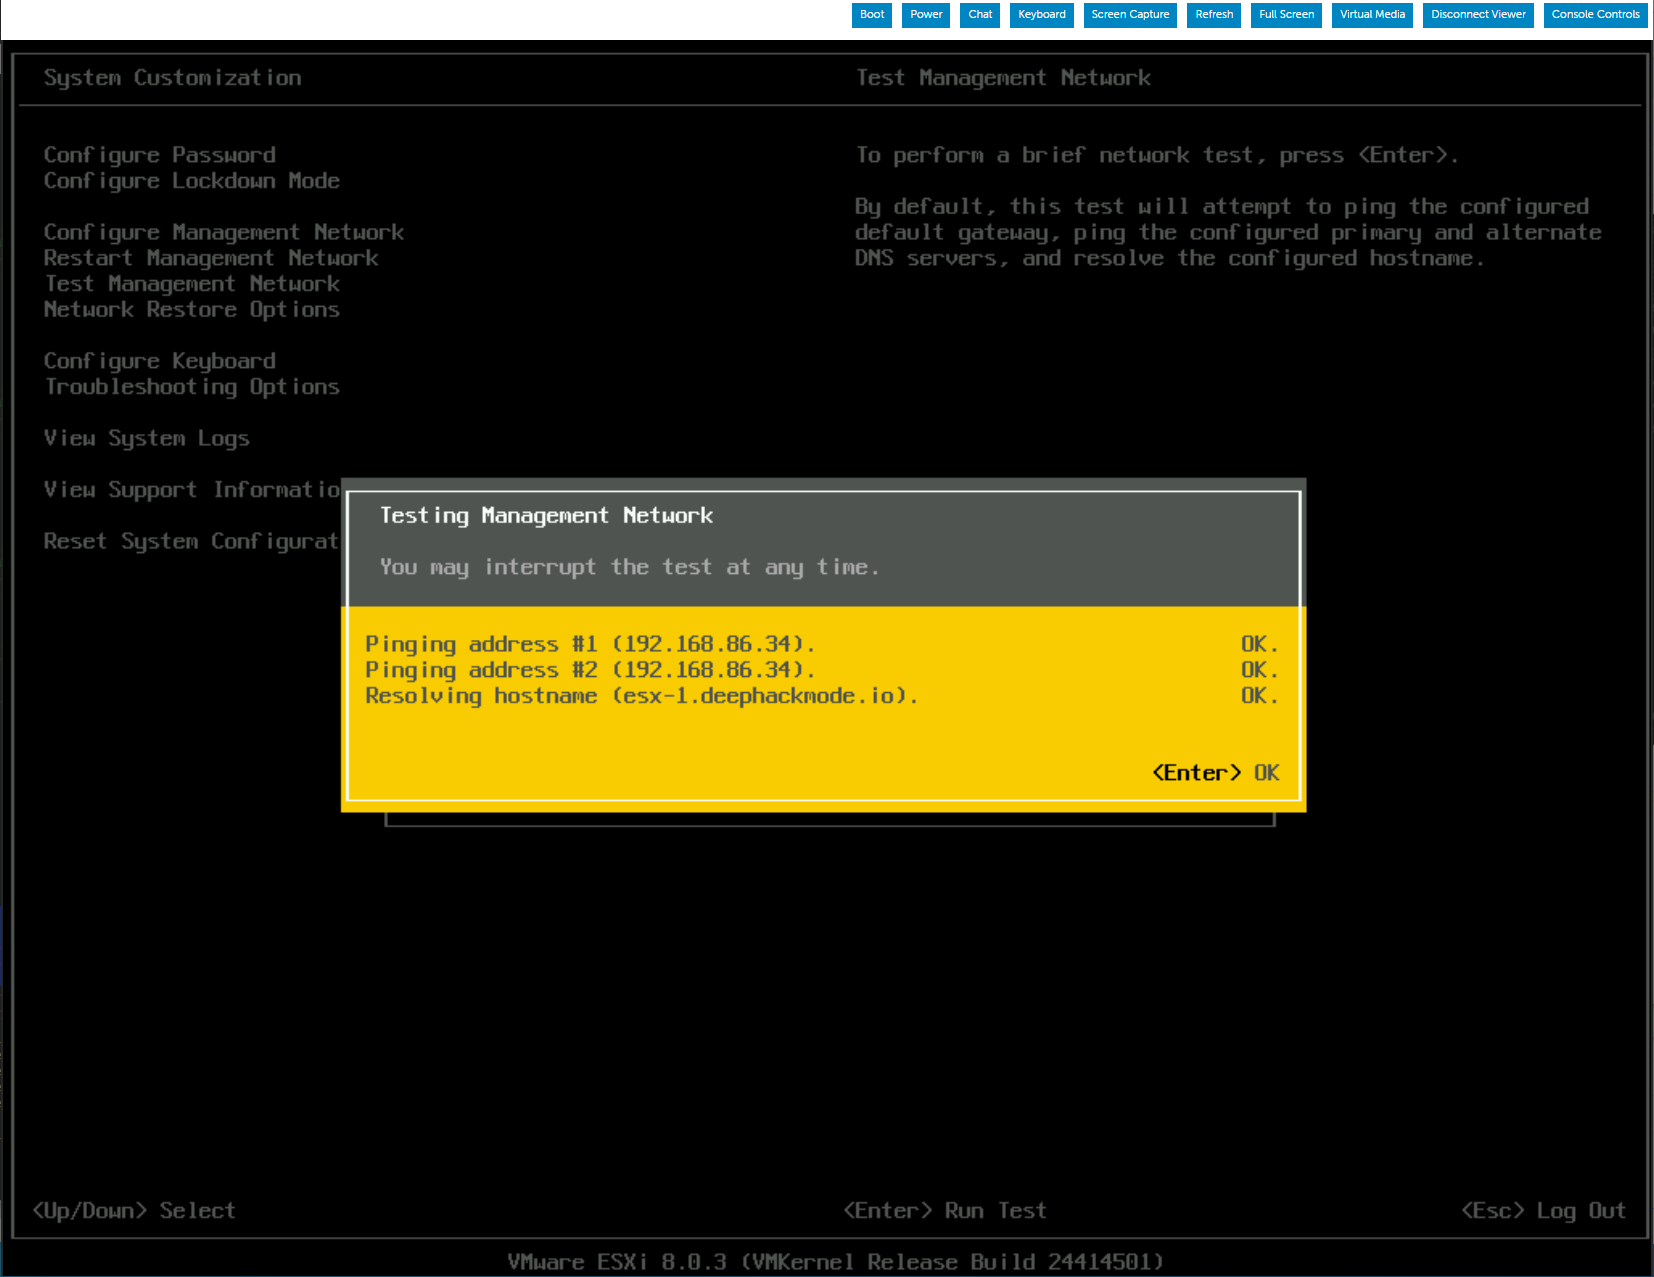
Make sure the test results are all OK!
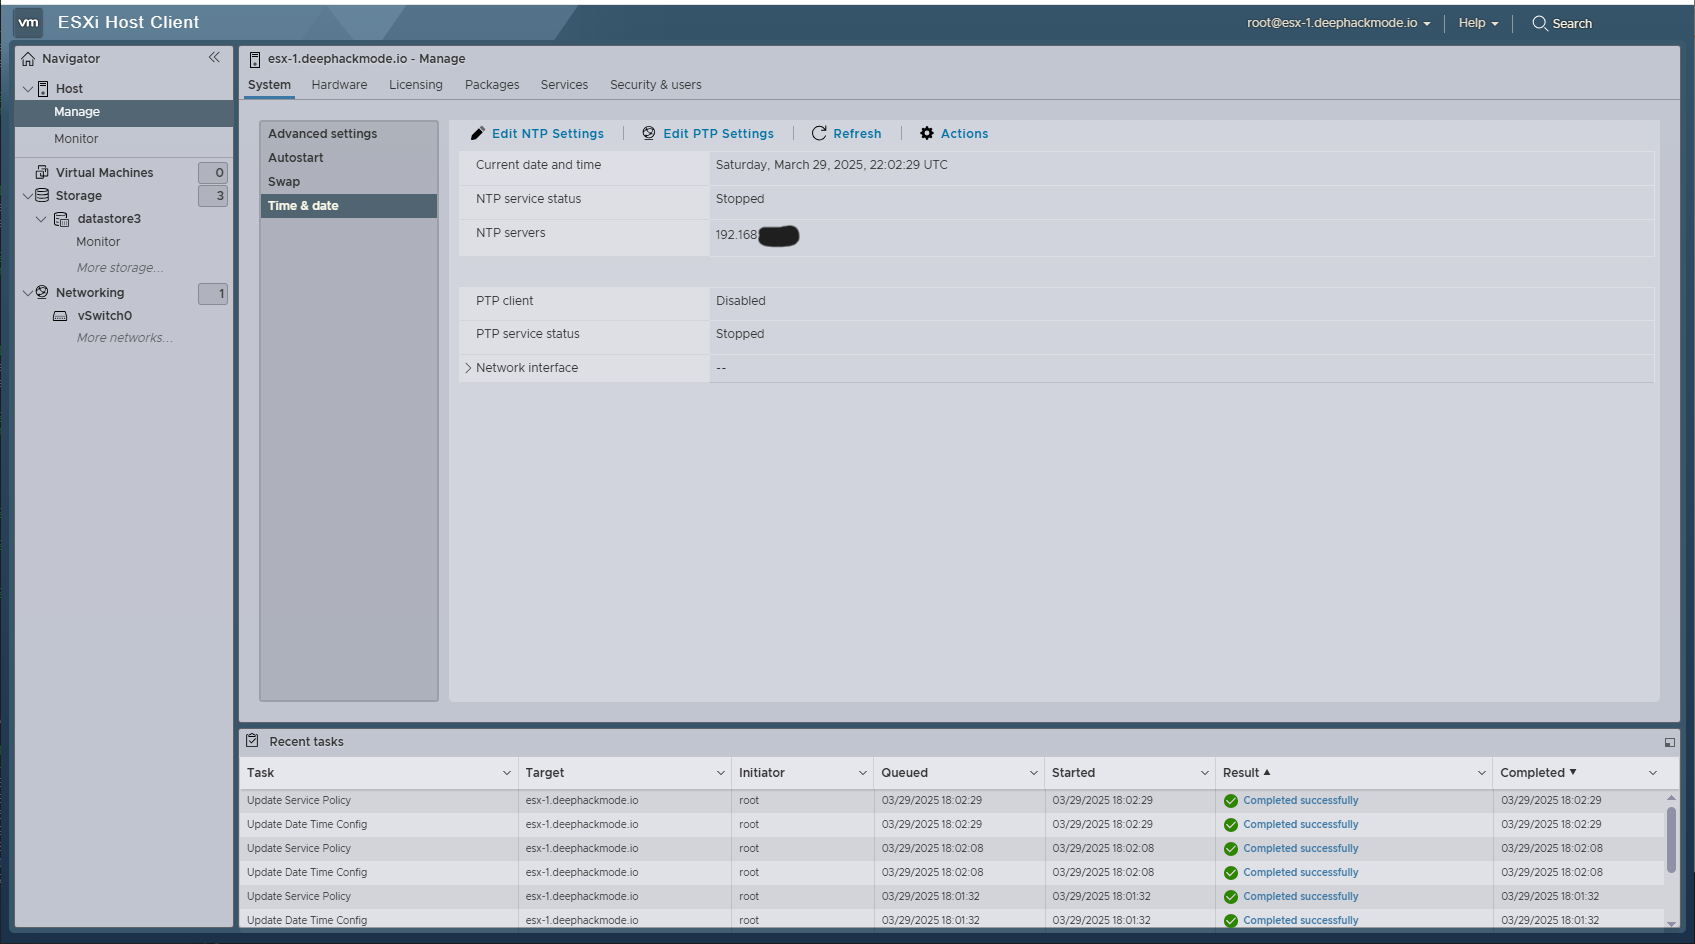
Switch to the ESXi Web UI, and configure Time settings. Click “Host->Manage”, and then click “System->Time & date”.
Assign a valid license for the ESXi product.
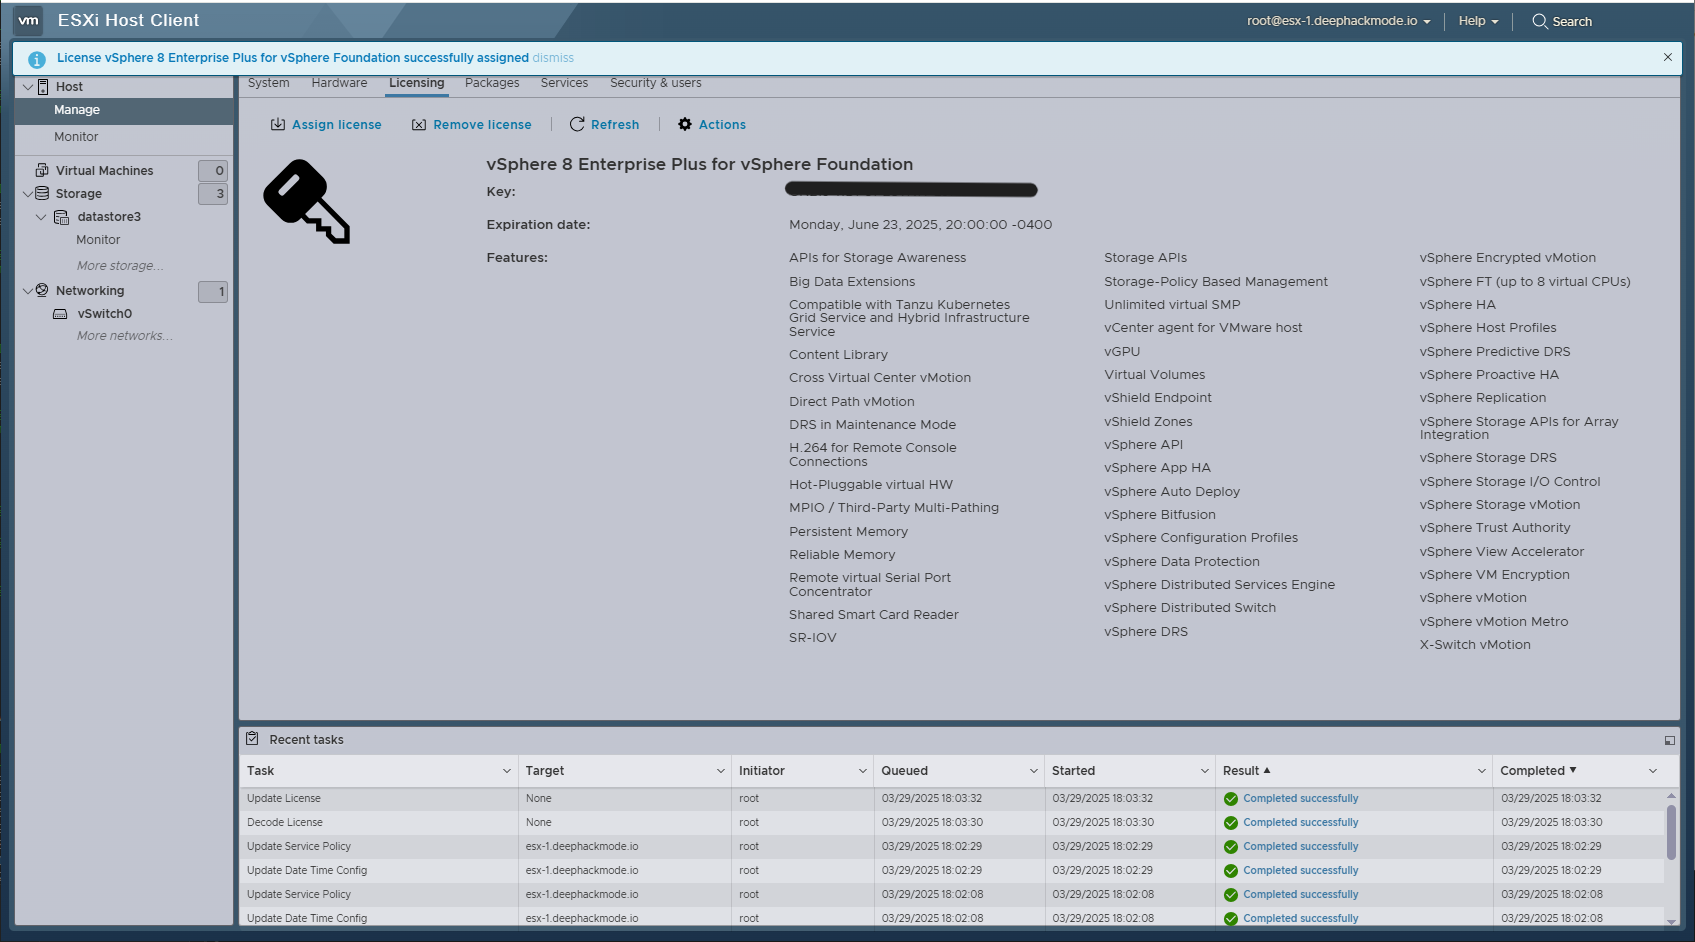
Congratulations! Your ESXi host is now up and running!