Deploying a TKGI Foundation
In the last few posts, I have paved my infrastructure, which comprises a vSphere environment with NSX. The whole infrastructure is running on a single Dell PowerEdge R740 server.
In this post, I’m going to deploy a TKGI Foundation on top of the infrastructure.
Here are the main steps in this deployment:
- Create the necessary objects in vSphere
- Create the necessary objects in NSX
- Deploy Tanzu Operations Manager v3.0.40
- Deploy Bosh Director
- Deploy Tanzu Kubernetes Grid Integrated Edition v1.21.0
Create the necessary objects in vSphere
A few folders and a Resource Pool need to be created in vSphere before deploying the TKGI foundation.
-
In vCenter, go to the Hosts tab and the right-click on Cluster and click “New Resource Pool”. Add a new resource pool (e.g.,
RP01). When adding the resource pool, only the name is required to be entered, the rest of the settings can be left as they are. Save the new resource pool by clicking “OK”.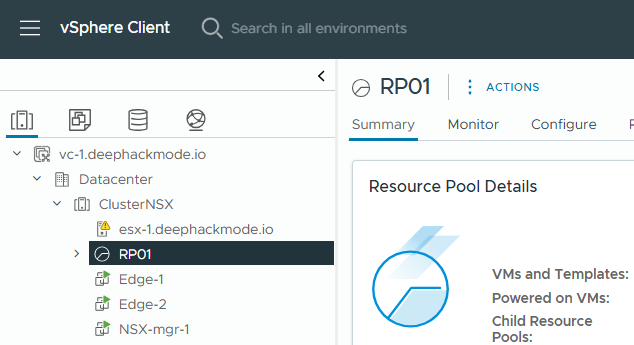
- In the VMs and Templates tab, right-click on Datacenter and click “New Folder”->”New VM and Template Folder”. Enter
pcf_templatesas name and then click “OK”. -
Repeat the previous step to add
pcf_vmsfolder.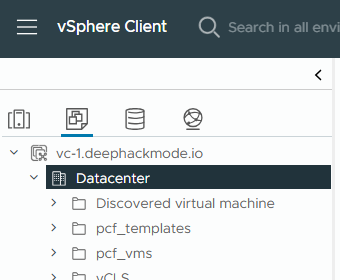
- In the Storage tab, click the particular datastore that you plan to use. Then, click “Files” tab on the right pane. Click “New Folder”, and enter
pcf_diskas the name, and then click “OK”.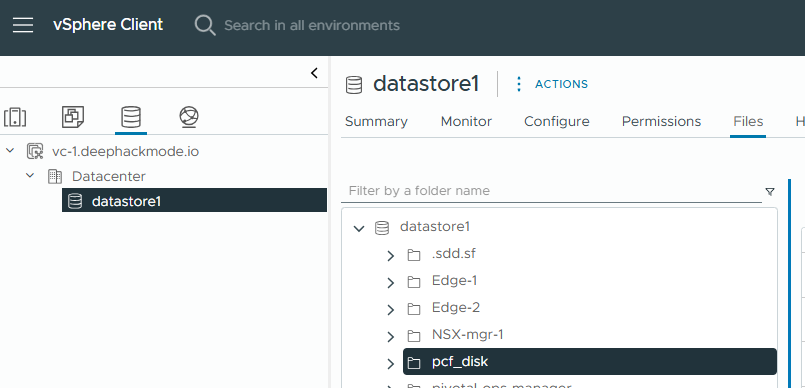
Create the necessary objects in NSX
-
In NSX Manager, go to Networking->NAT and add the following NAT rules under the
T0-gateway-1T0 gateway.Name Action Match Translated IP opsmanager DNAT Destination IP: 192.168.16.10 10.1.1.10 snat1-1 SNAT Source IP: 10.1.1.0/24 192.168.16.1 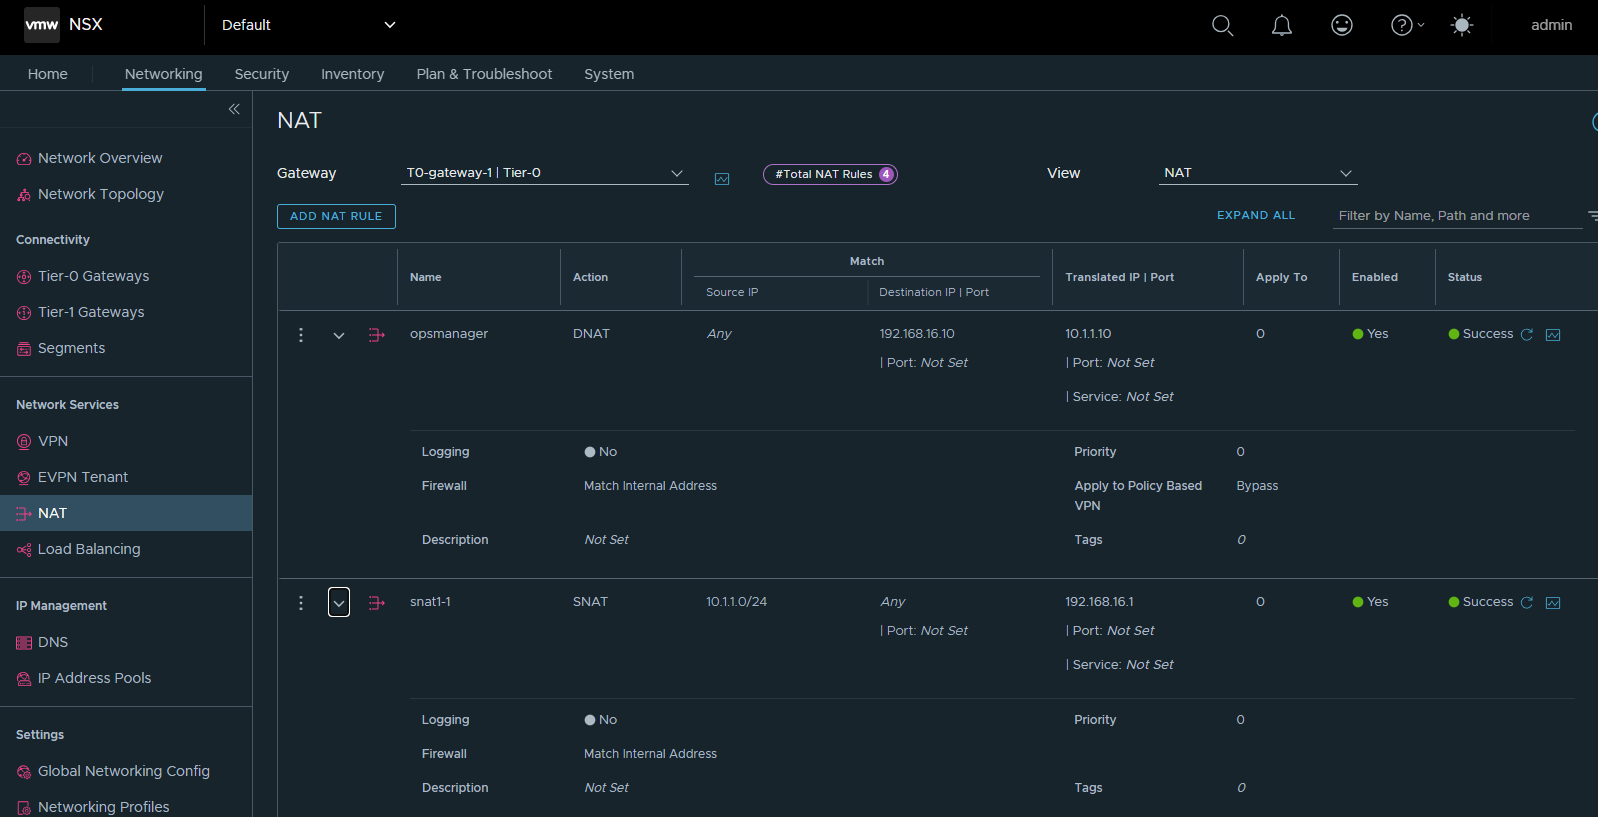
- Go to Networking->IP Address Pools->IP Address Pools and add the following pool.
floating-ip-pool- (Range:192.168.16.101-192.168.16.254, CIDR:192.168.16.0/24)
- Go to Networking->IP Address Pools->IP Address Blocks and add the following block.
pods-ip-block- (CIDR:172.16.0.0/16)nodes-ip-block- (CIDR:10.16.0.0/16)
Deploy the Tanzu Operations Manager
- Download the OVA from the Broadcom Support Portal
- In vCenter, right-click on the Resource Pool “RP01”, and the click “Deploy OVF Template”.
- In the “Select an OVF Template” screen, select “Local file” and then click on “Upload Files” to upload the OVA file
ops-manager-vsphere-3.0.40+LTS-T.ovathat was downloaded. Click “Next”. - In the “Select a name and folder” screen, enter a name of the VM or accept the default. Select the “pcf_vms” folder as the location for the VM. Click “Next”.
- Review the details and then click “Next”.
- Select the storage that you want to use, and then click “Next”.
- Select the network “LS1.1” and then click “Next”.
-
In the Customize template screen, provide the following info, and then click “Next”.
Setting Value IP Address 10.1.1.10 Netmask 255.255.255.0 Default Gateway 10.1.1.1 DNS 192.168.86.34 NTP Servers 192.168.86.34 Public SSH Key your ssh key here Custom Hostname opsmgr - Review the details and then click “Finish”.
- Check the deployment task in vCenter. Wait for it to complete.
- Set up DNS to add the A entry for Ops Manager’s DNAT Destination IP (
192.168.16.10) and FQDNopsmgr.deephackmode.io. - In a browser, go to
https://opsmgr.deephackmode.io. - Set up “Internal Authentication”. Setup username and password for the
adminaccount. Provide a passphrase as well. Click “OK” to complete the authentication setup. - At the Ops Manager Login, enter the
adminuser and password.
Deploy the Bosh Director
- In the Ops Manager UI, click the Director tile to get to the settings page.
-
In vCenter Config tab, provide the following info, and then click “Save”.
Setting Value vCenter Name vc-1 vCenter Host vc-1.deephackmode.io vCenter Username $username vCenter Password $password Datacenter Name Datacenter Virtual Disk Type Thin Ephemeral Datastore Names datastore1 Persistent Datastore Names datastore1 Click the “NSX-T Networking” radio box, and provide the following info:
NSX Address nsx-mgr-1.deephackmode.io NSX-T Authentication Local User Authentication NSX Username $username NSX Password $password Use NSX-T Policy API :checked: NSX CA Cert $NSXCA - In Director Config tab, enter
192.168.86.34as the NTP server. The rest of the settings in this tab can be left with the default values. Click “Save”. -
In Create Availability Zones tab, add 1 AZ with the following info, and then click “Save”.
Setting Value Name az1 IaaS Configuration vc-1 Cluster Cluster Resource Pool RP01 -
In Create Networks tab, add 1 Network with the following info, and then click “Save”.
Setting Value Name deployment-network vSphere Network Name LS1.1 CIDR 10.1.1.0/24 Reserved IP Ranges 10.1.1.0-10.1.1.10 DNS 192.168.86.34 Gateway 10.1.1.1 Availability Zones az1 - In Assign AZs and Networks, set the Singleton AZ to
az1and the Network todeployment-network. Click “Save”. - In Security tab, enable the option “Include Tanzu Ops Manager Root CA in Trusted Certs”. Click “Save”.
- The rest of the tabs can be left with the default settings.
- Click “Installation Dashboard” from the top menu, and then click “Review Pending Changes”, and then click “Apply Changes”. Wait for the “Apply Changes” to complete.
Deploy the Tanzu Kubernetes Grid Integrated Edition
- Download the TKGI tile from the Broadcom Support Portal.
- In Ops Manager, click “Import a Product” and then find the TKGI tile file
pivotal-container-service-1.21.0-build.32.pivotaland upload it. - Once uploaded, the product would be listed in the left pane. Click the
+sign beside the product to stage it. - Once staged, the tile would appear on the main pane. Click the product to begin configuring it.
- In Assign AZs and Networks, Select
az1on both “Place singleton jobs in AZ” and “Balance other jobs in AZs” settings. Selectdeployment-networkon both “Network” and “Service Network” settings. Click “Save”. - In TKGI API tab, click “Change” under the “Certificate to secure the TKGI API”, and then Generate the cert and key for
*.deephackmode.ioname. - Enter
tkgi.deephackmode.ioas the API Hostname. Click “Save”. - In Plan 1 tab, check the
az1checkbox under Master/ETCD Availability Zones and also under Worker Availability Zones. The rest of the settings can be left as default. Click “Save”. - In Kubernetes Cloud Provider tab, enter the vCenter information. The Stored VM Folder can be set to
pcf_vms. Click “Save”. - In Networking tab, select “NSX-T” as the Container Networking Interface.
- Follow the instructions on how to generate and register a NSX Principal Identity. Then, enter the generated Principal Identity cert and key into the NSX Manager Super User Principal Identity Certificate fields.
- Enter the NSX Manager CA cert. Get this from NSX Manager UI or retrieve using
opensslcli (if it’s using a self-signed server cert). - Enable NAT mode.
- Enable Policy API mode.
- Enter
pods-ip-blockas the Pods IP Block ID. - Enter
nodes-ip-blockas the Nodes IP Block ID. - Enter
T0-gateway-1as the T0 Router ID. - Enter
floating-ip-poolas the Floating IP Pool ID. - Enter
192.168.86.34as the Nodes DNS. - Enter
Clusteras the vSphere Cluster Names. - Click Save.
- In CEIP tab, click “No” under “Join the… Program”. Select “Demo or POC” as your use-case. Click “Save”.
- In Storage tab, select “Yes” under vSphere CSI Driver Integration. Click “Save”.
- The rest of the tabs can be left with the default settings.
- Click “Installation Dashboard” from the top menu, and then click “Review Pending Changes”, and then click “Apply Changes”. Wait for the “Apply Changes” to complete.
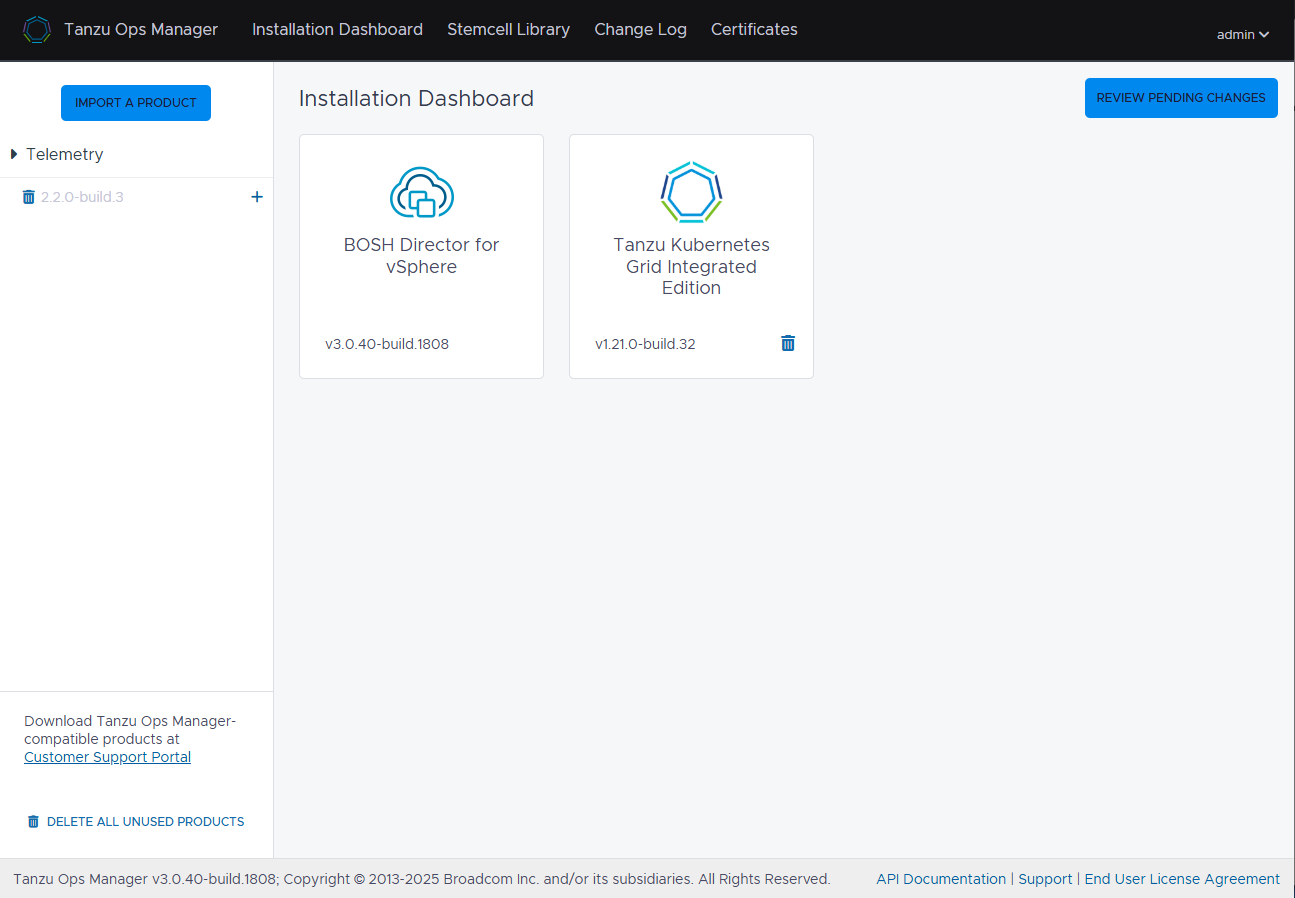
That right there is my brand new shiny TKGI Foundation!