Installing Avi on vCenter
Before I proceed with installing TKGM, I decided that I am going to add Avi Controller in the mix. This post has the steps that I ran to install the Avi Controller.
I followed the steps from the TKGM doc titled “Install and Configure NSX Advanced Load Balancer”
Download the Avi Controller OVA
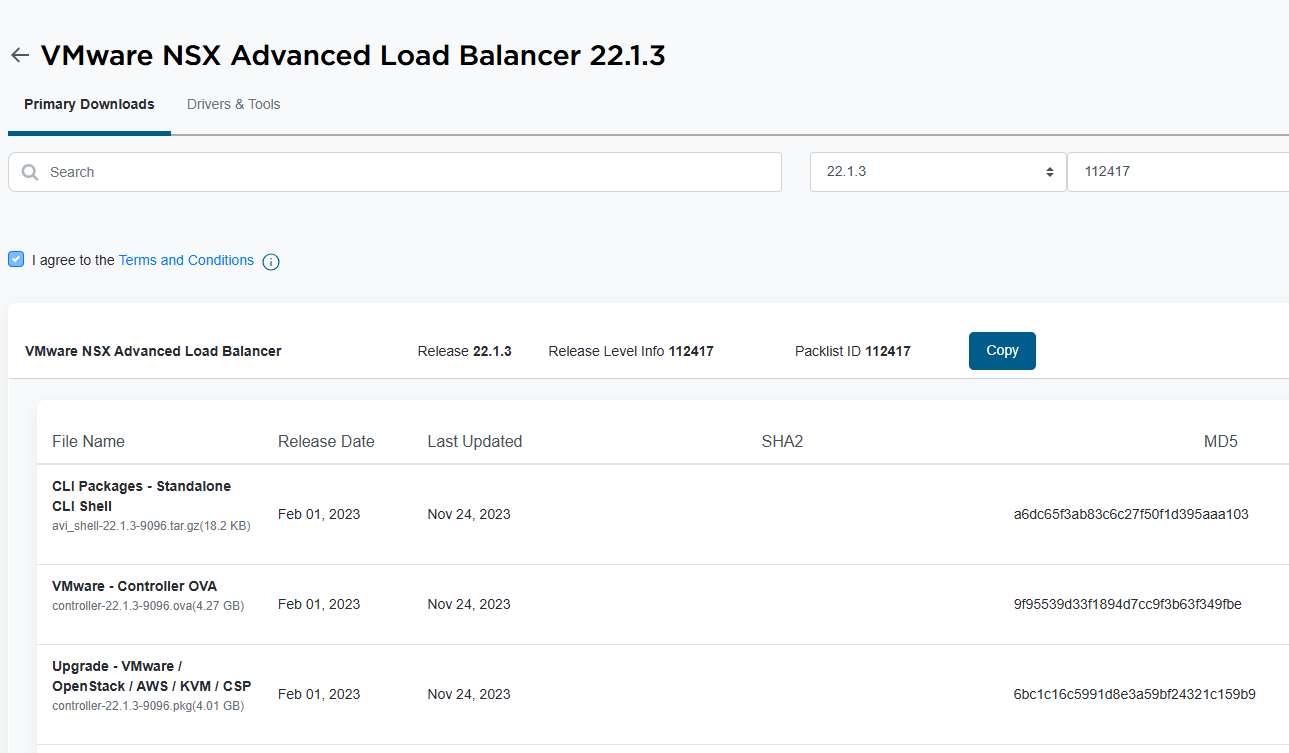
I confirmed from the Interoperability Matrix that Avi Controller v22.1.3 is compatible with TKGM v2.5.2. I downloaded that version of the OVA from the Broadcom Download portal.
Deploy the OVA template to vSphere
The TKGM doc redirects to the Avi doc on how to deploy the OVA. I followed what was in that doc, but roughly these were the steps:
- In vCenter, right-click on the cluster object and then select “Deploy OVF Template”.
- In the “Select an OVF template” tab, select “Local file” and then upload the downloaded OVA file. Then, click “Next”.
- In the “Select a name and folder” tab, leave the VM name as it is, which is
controller. Select the folderpcf_vmsas the location. Then, click “Next” - In the “Select a compute resource” tab, select the cluster and then click “Next”.
- In the “Review details” tab, just click “Next”.
- In the “Select storage” tab, click the Datastore, and then set the virtual disk format to “Thick Provision Lazy Zeroed”. Then, click “Next”.
- In the “Select networks” tab, set VM Network to “VM Network”. Then, click “Next”.
- In the “Customize template” tab, specify the management IP address and default gateway. Then, click “Next”.
- In the “Ready to complete” tab, click “Finish”.
- Monitor the task in vCenter. It should complete in just a few minutes.
- Power on the VM.
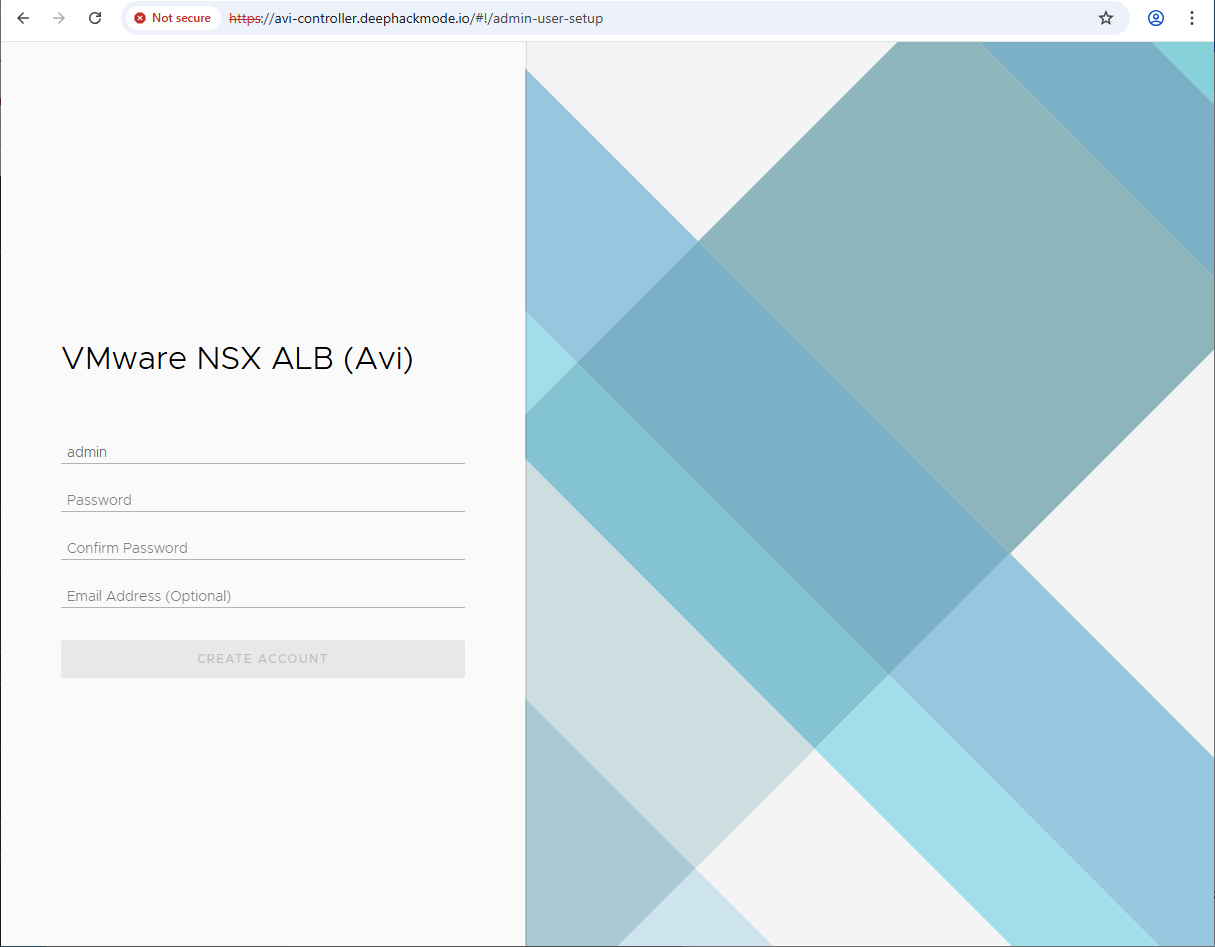
- Setup DNS entry for the Controller and open it in your browser to setup the admin credentials.
Performing the initial setup
I use the steps in the “Performing the Avi Load Balancer Controller Initial setup” doc as a guide.
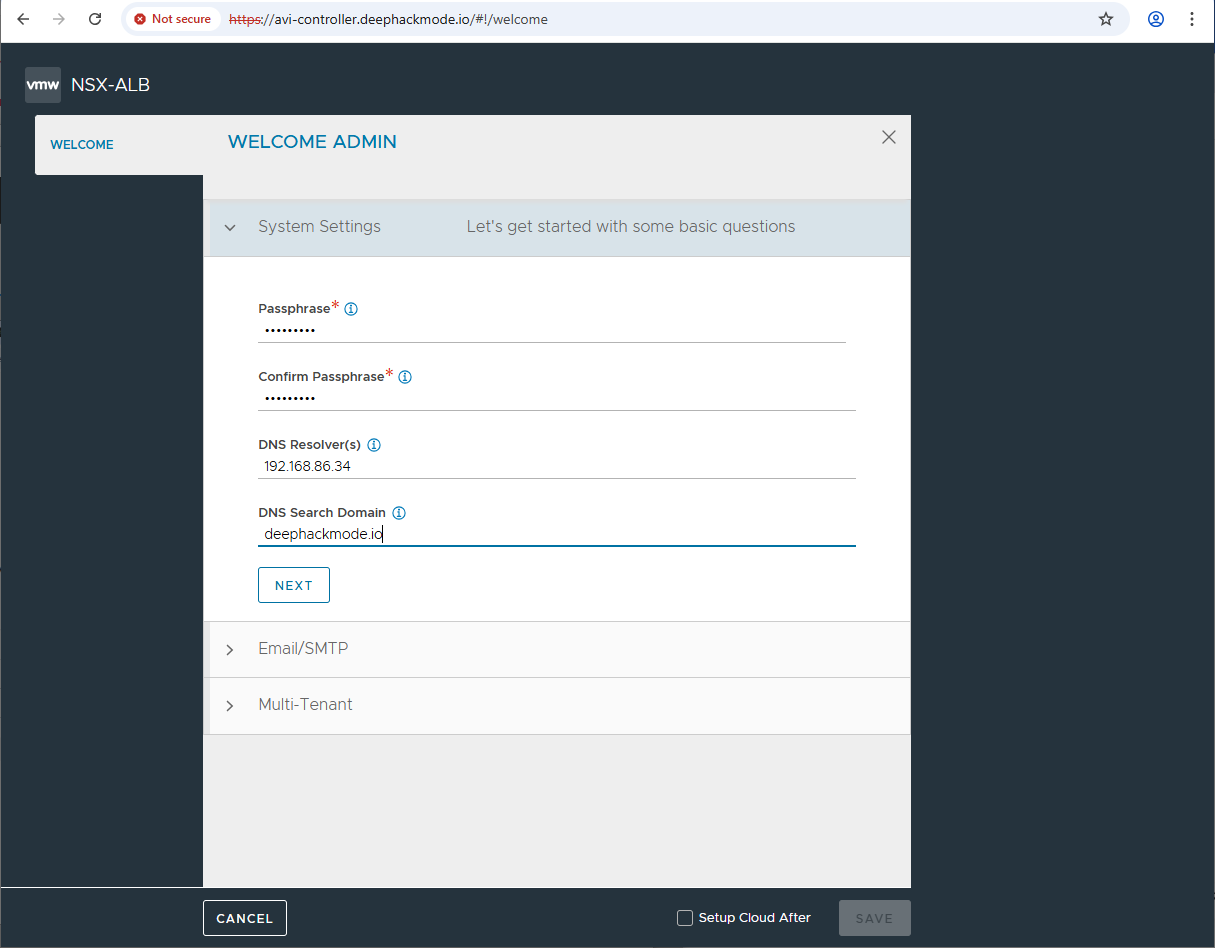
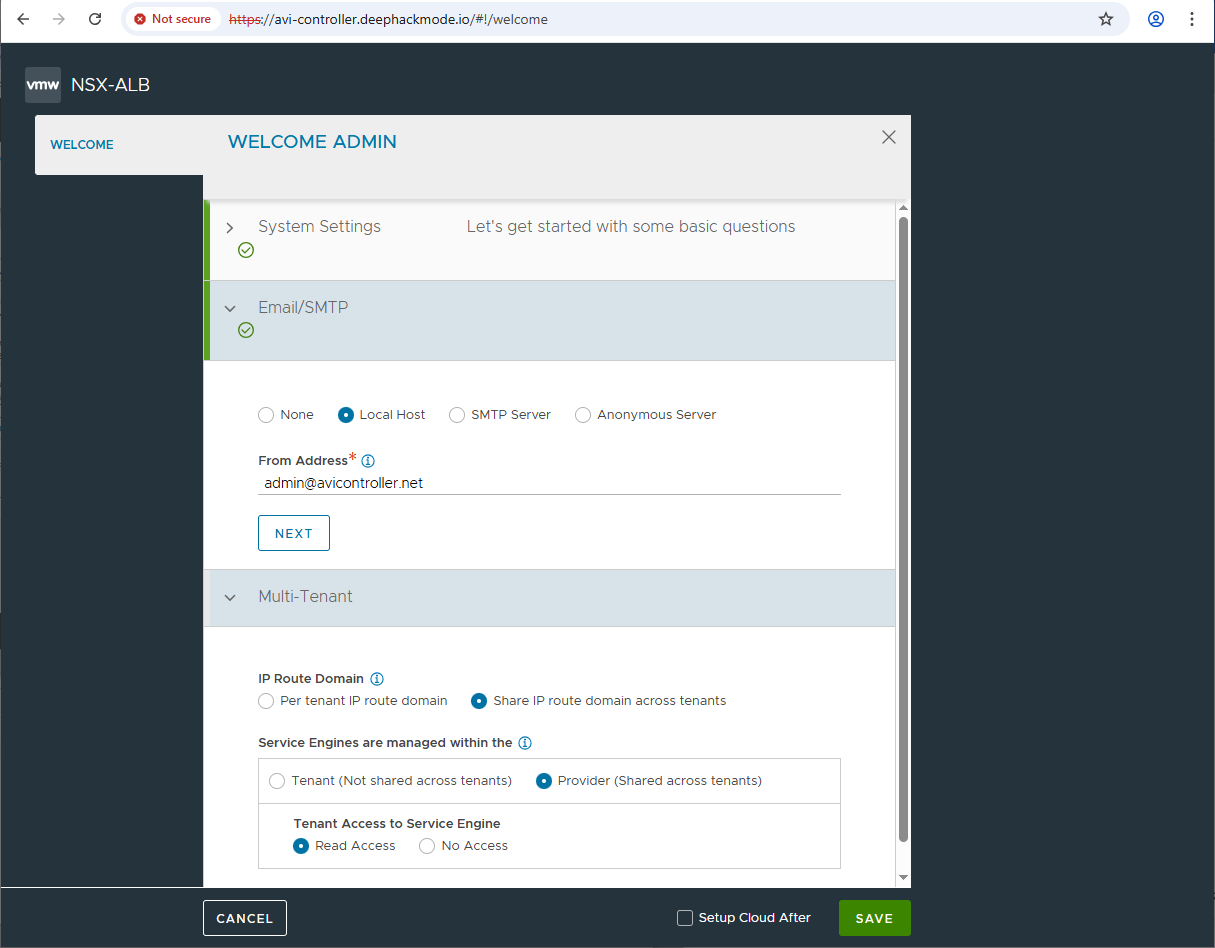
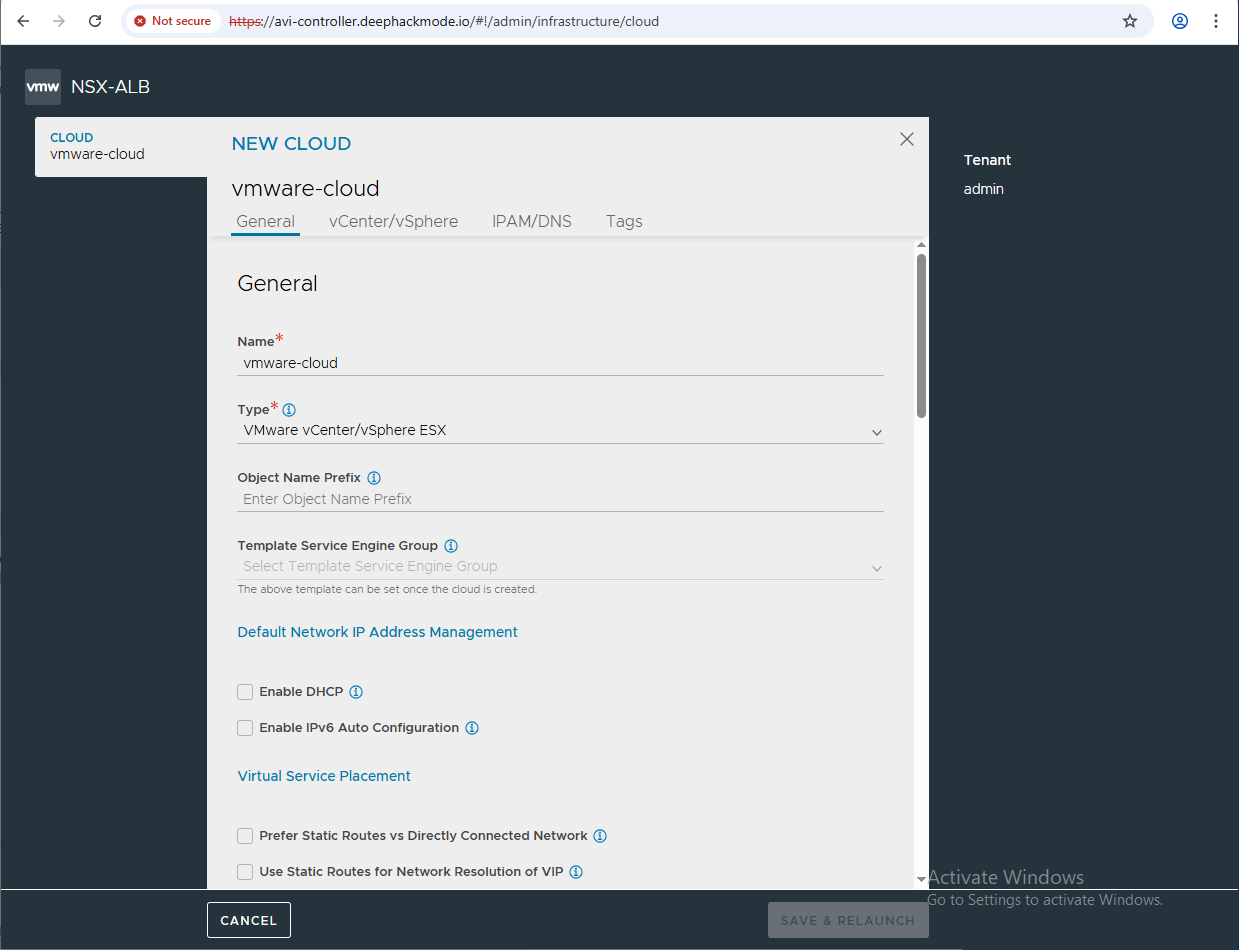
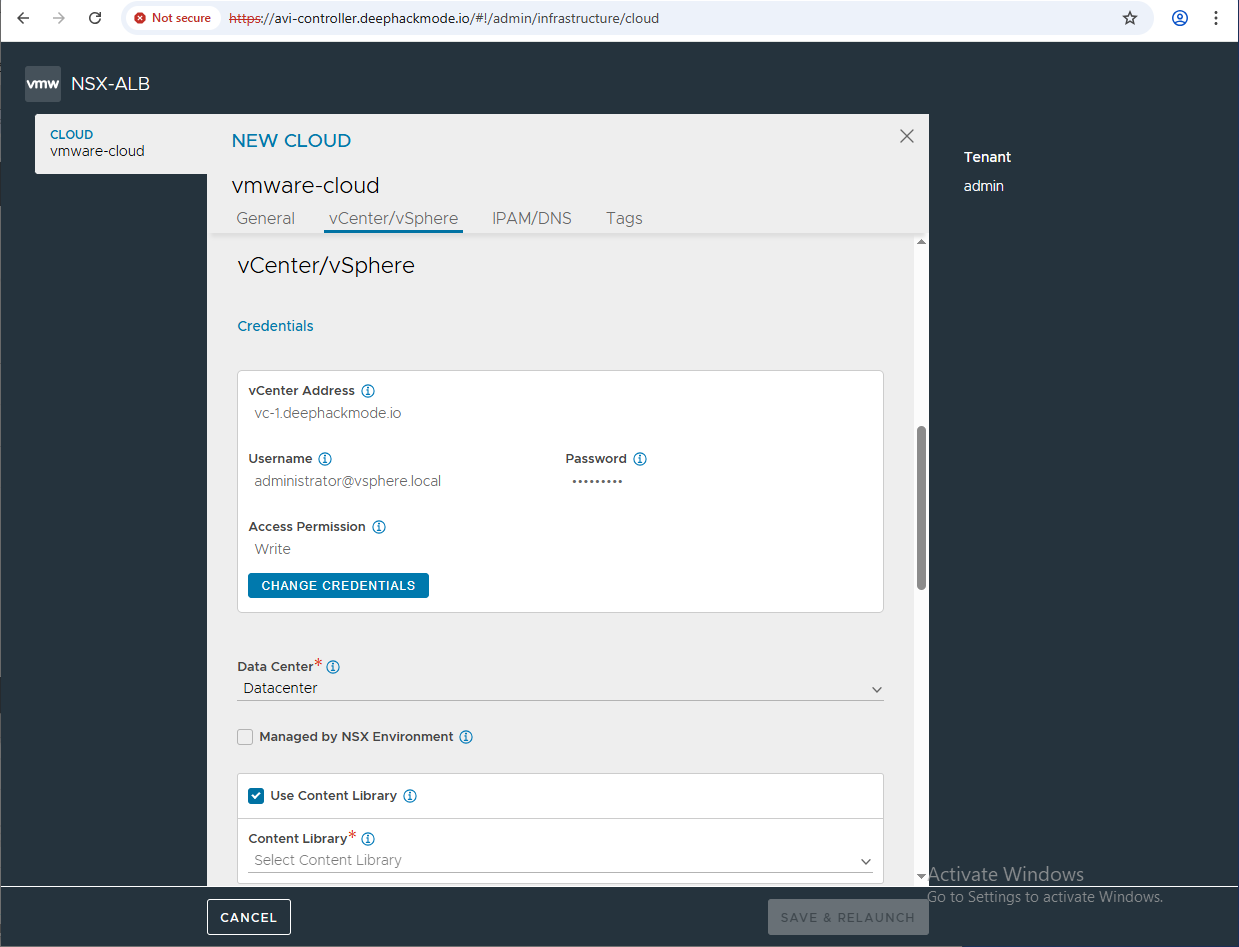
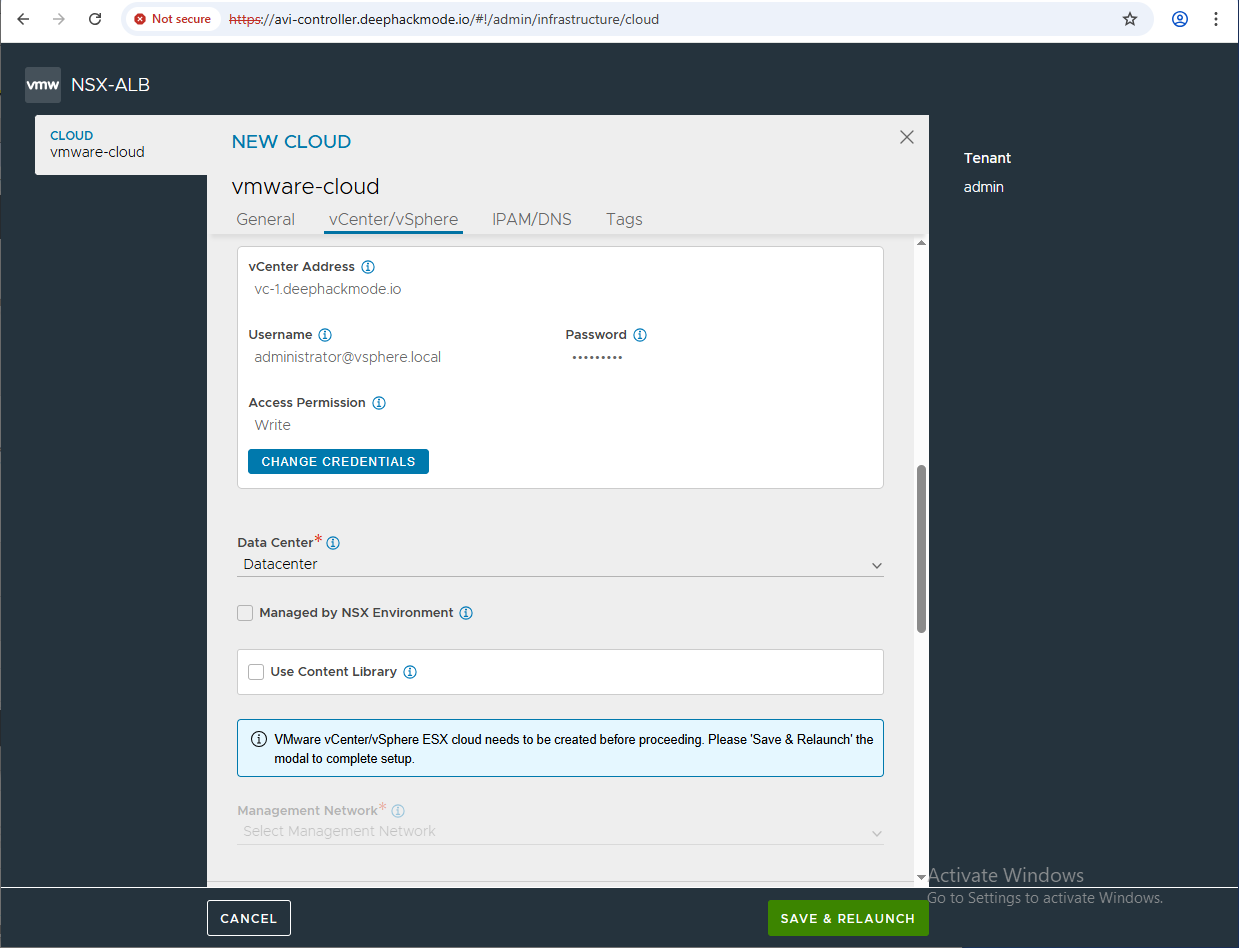
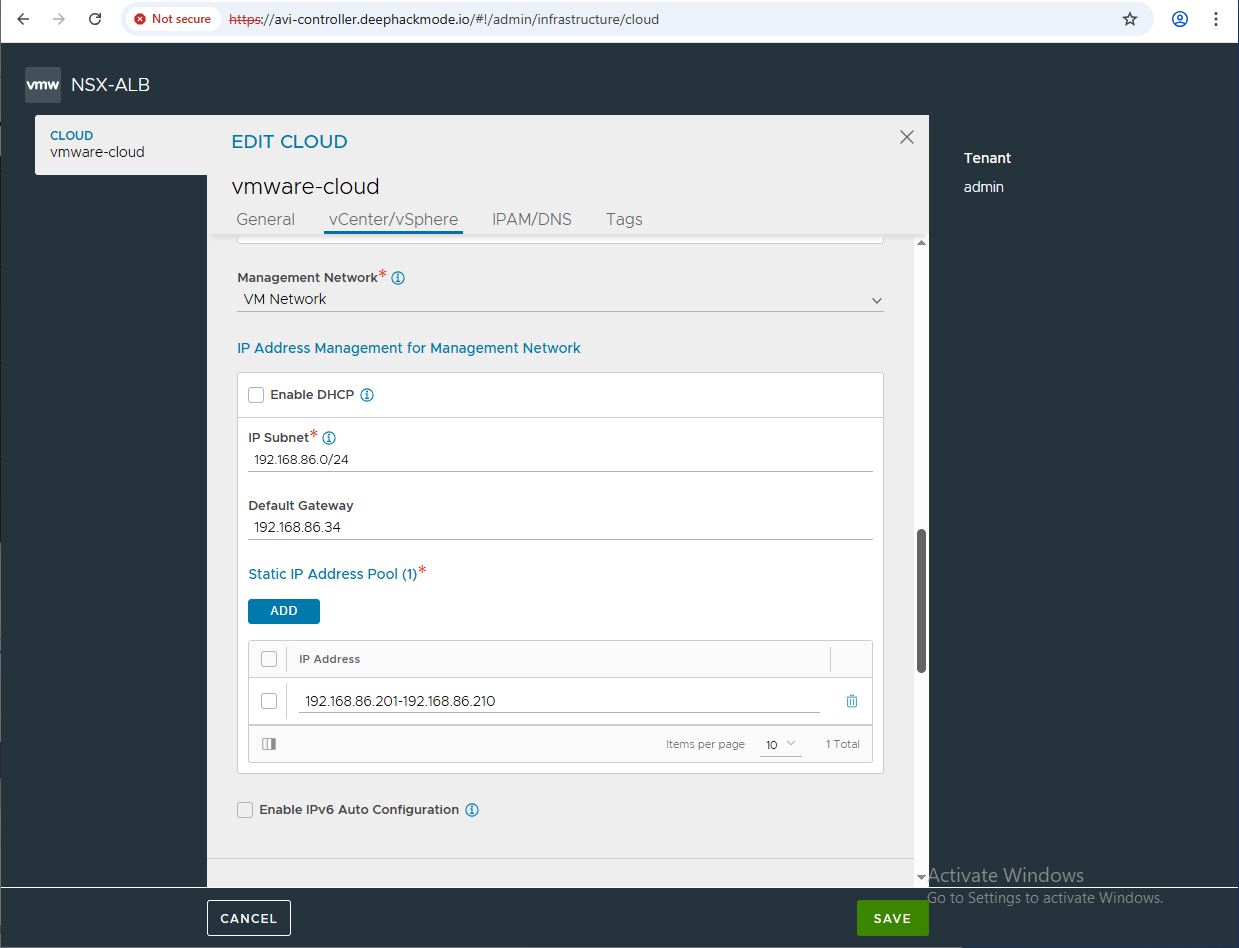
I used “vmware-cloud” as the name of the cloud, mainly because that was the example in the screenshot from the document although it was not mentioned at all. Also, I didn’t enable the DHCP, IPv6 Auto Configuration, and Content Library.
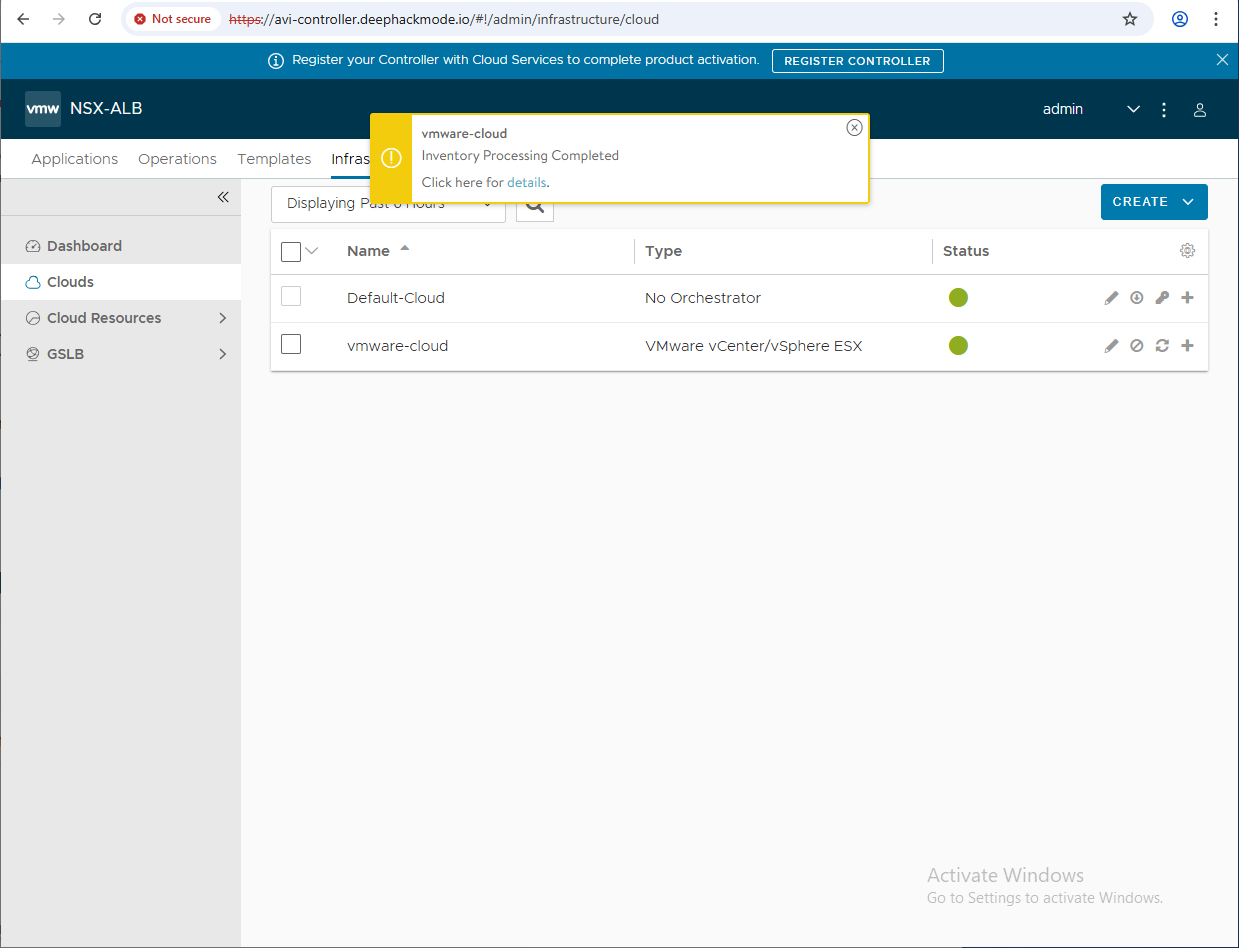
Avi Controller Setup: IPAM and DNS
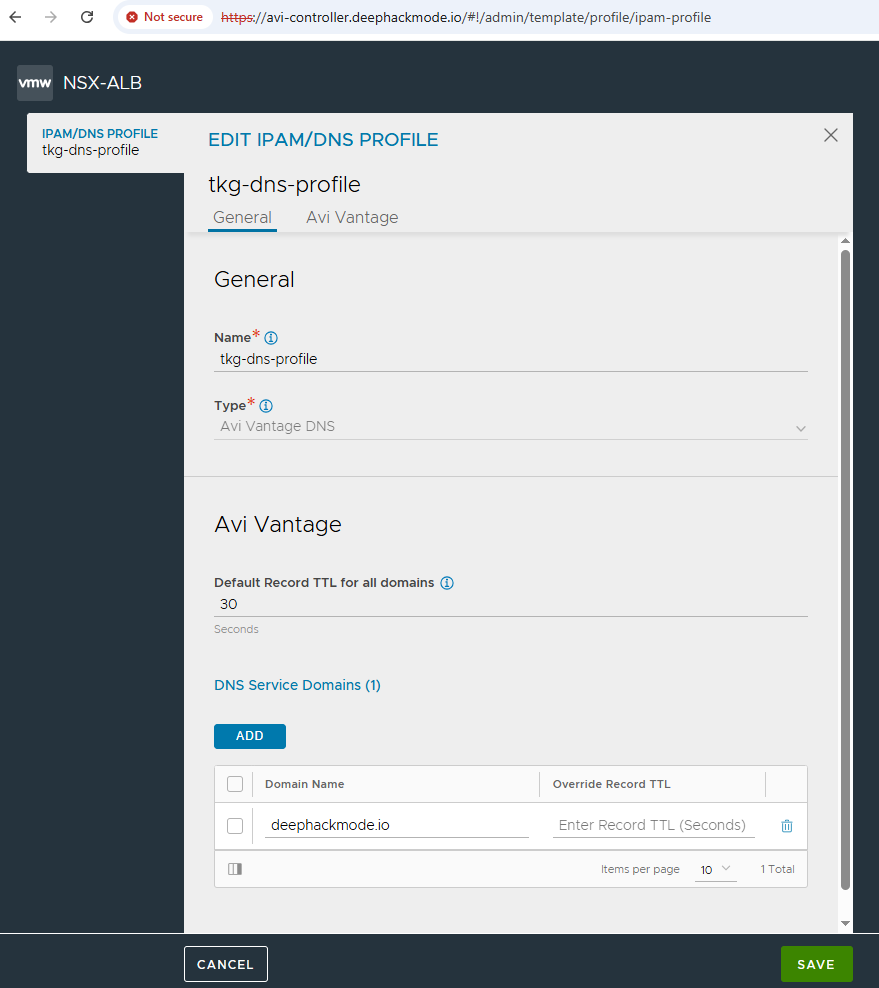
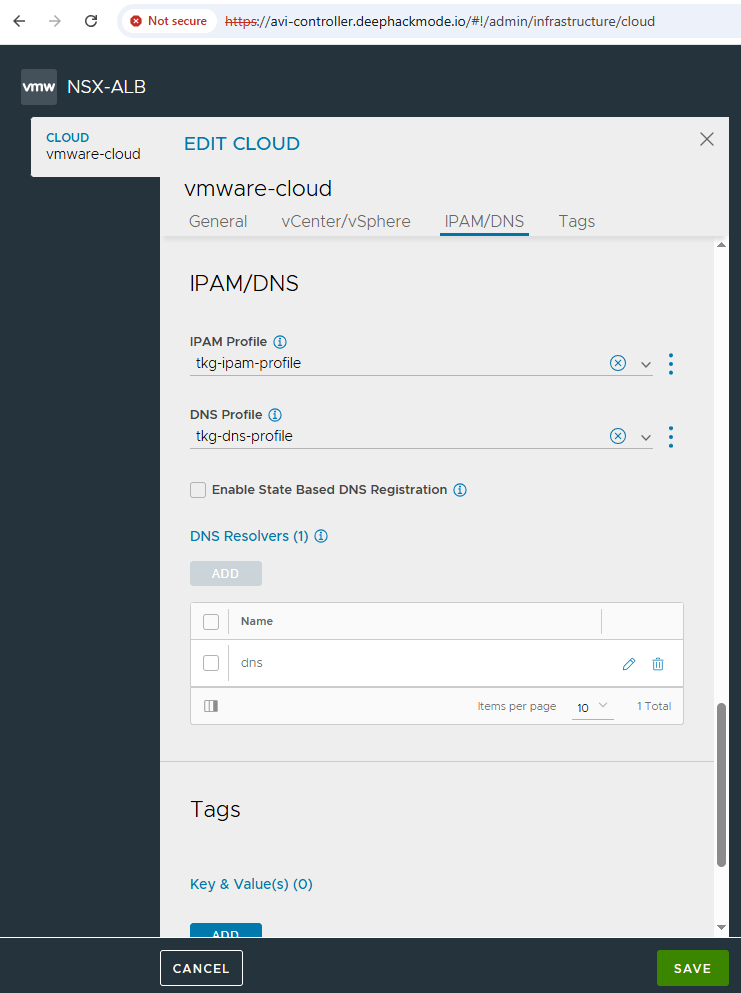
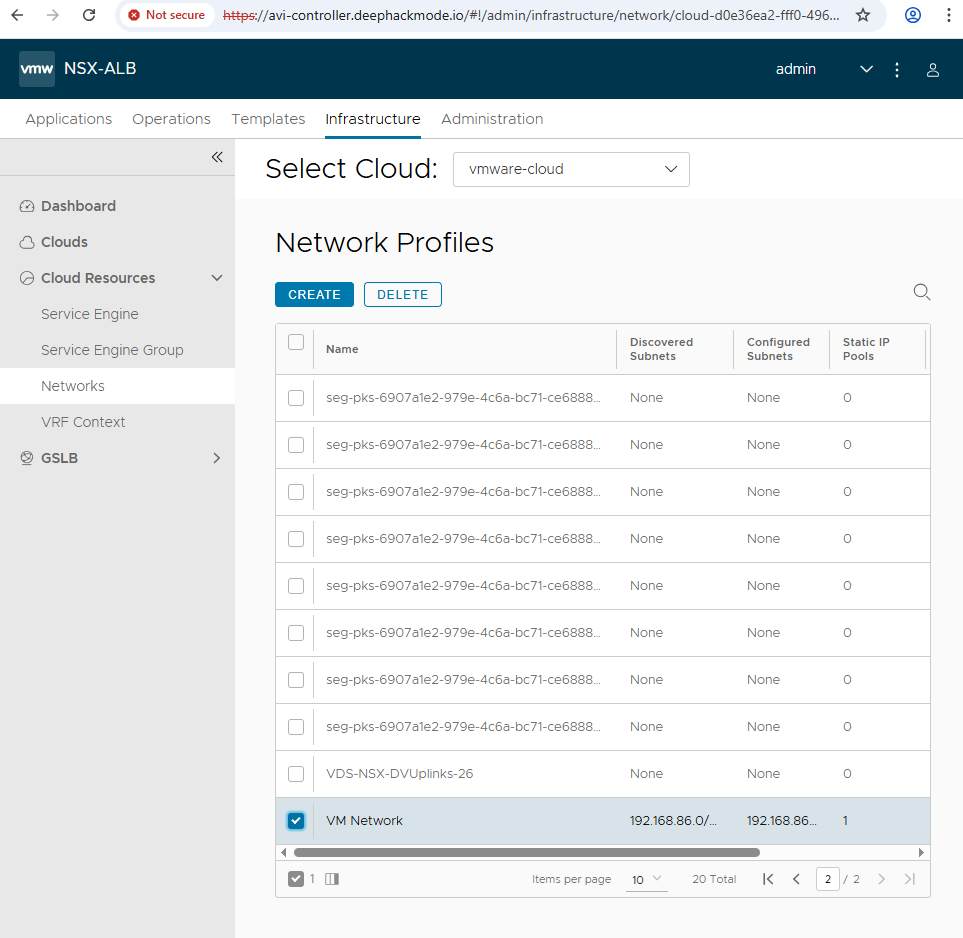
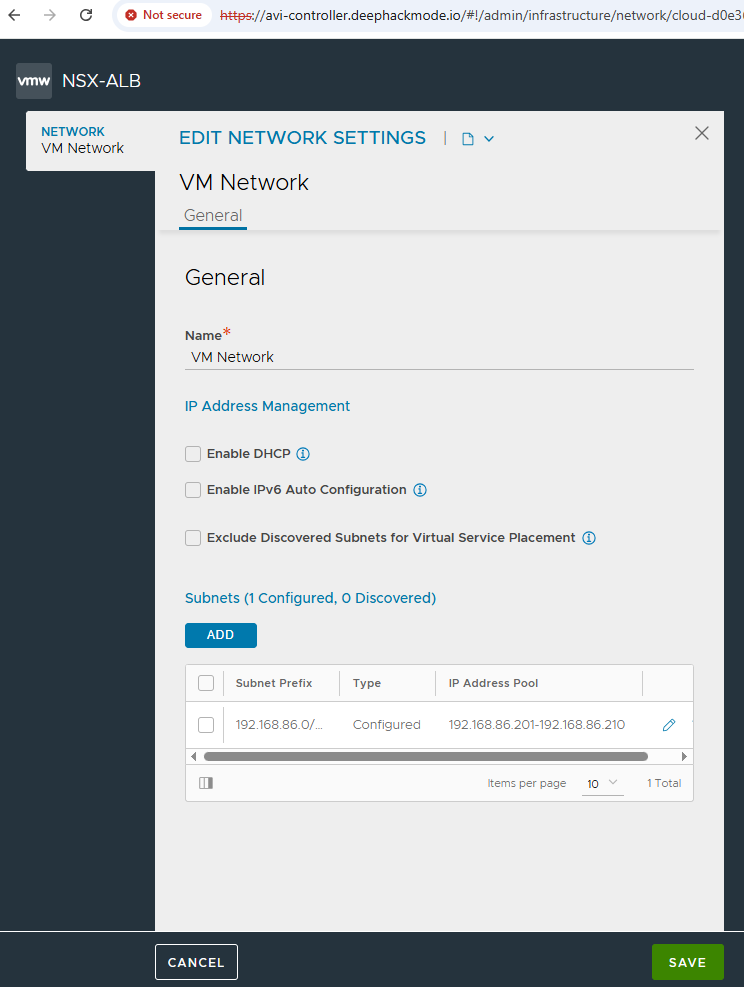
As per the TKGM doc, there are additional settings that needed to be configured, such as the IPAM and DNS Profiles.
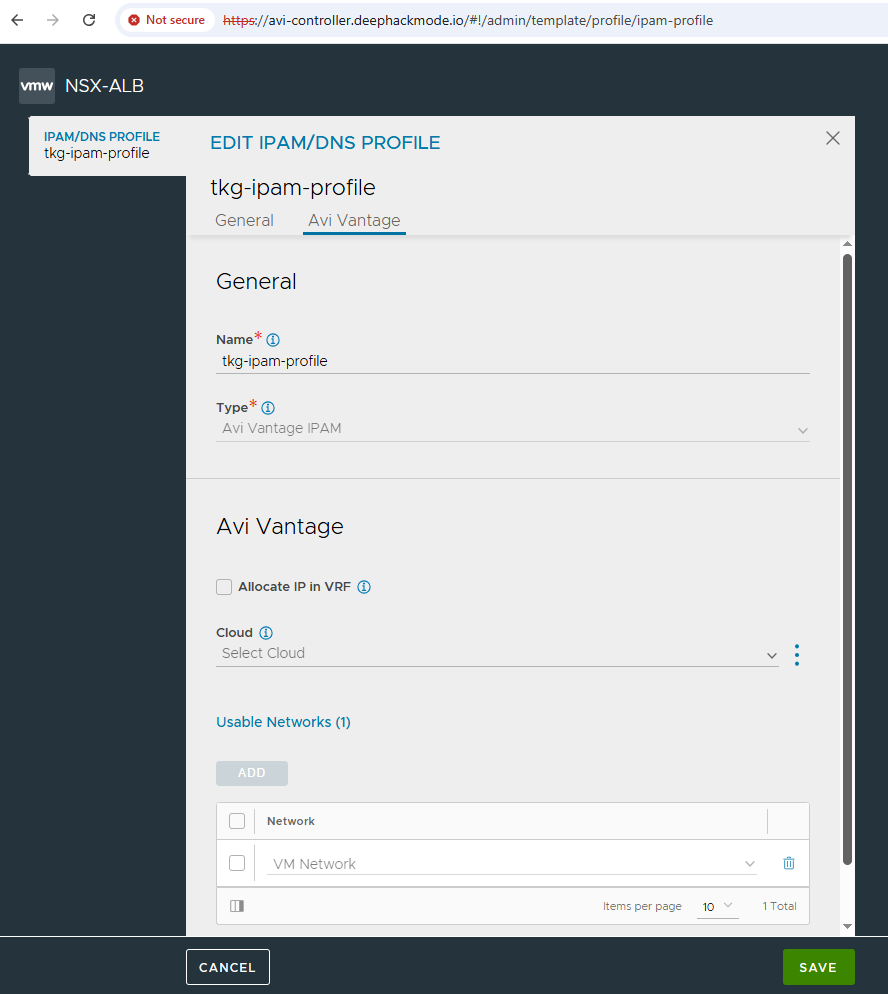
I followed the steps from the section “Avi Controller Setup: IPAM and DNS”
The only thing confusing from that doc is that specifically instructed to select the “Default-Cloud” cloud, even though in the previous steps I created the “vmware-cloud” cloud as per the Avi document. In those steps, I just select “vmware-cloud”.
Create a dummy Virtual Service
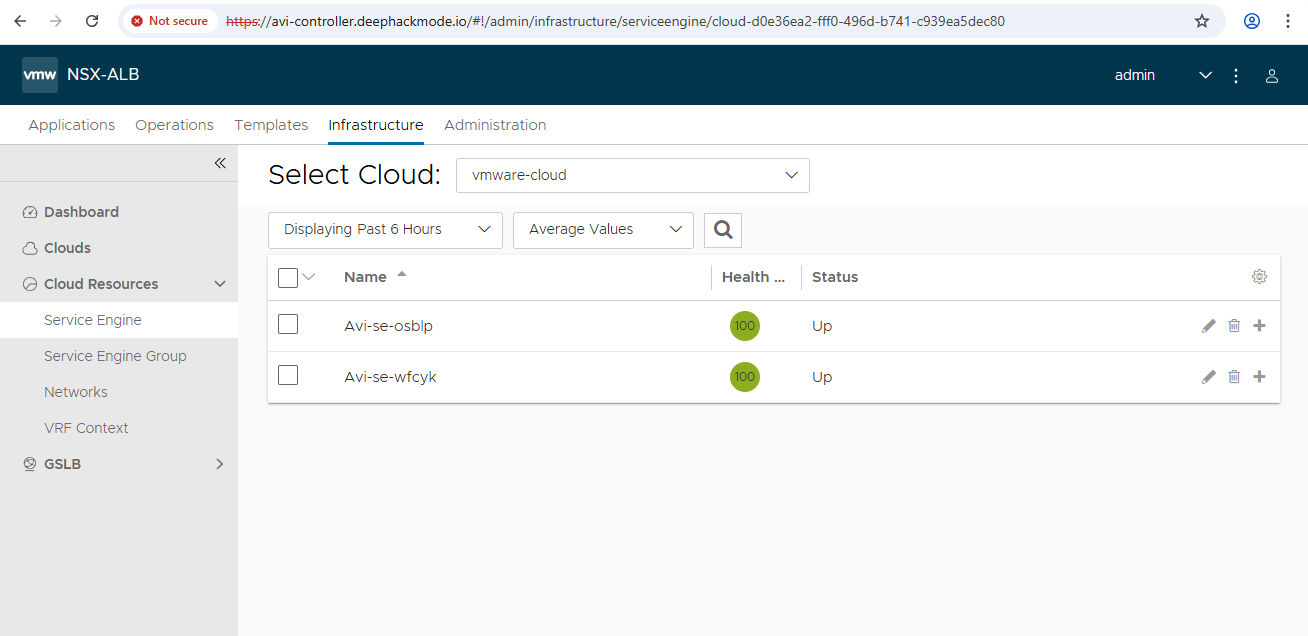
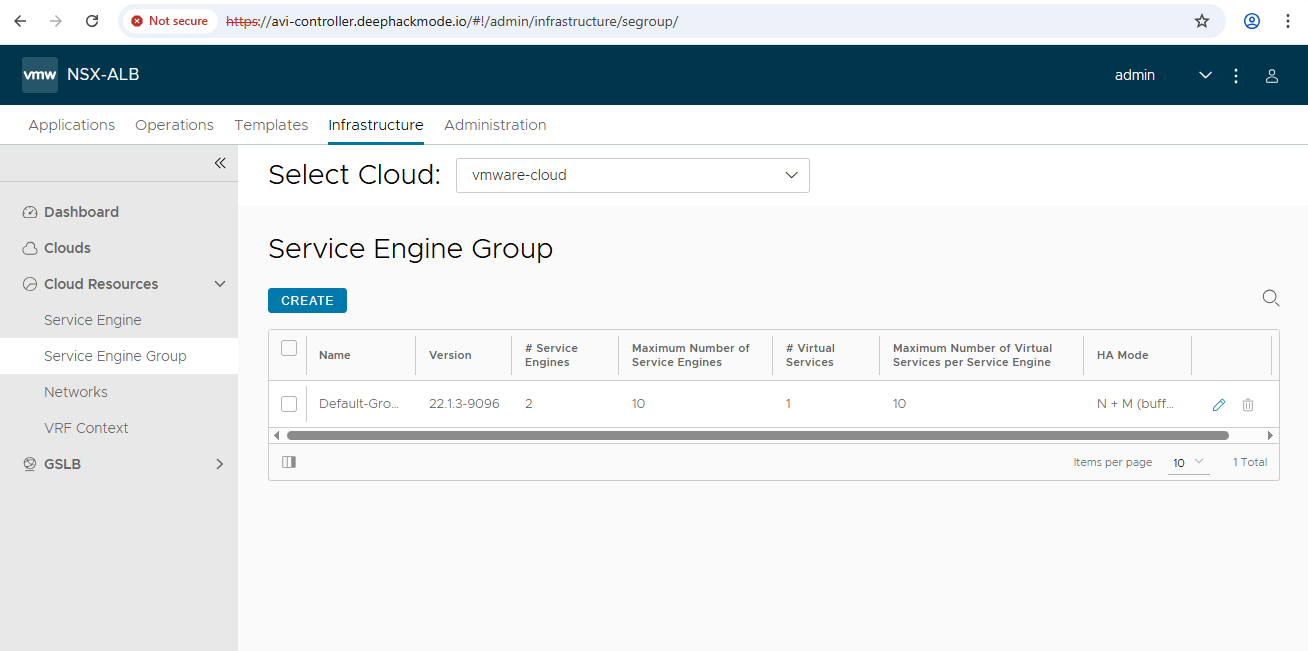
The TKGM doc recommended to create a dummy virtual service to trigger the creation of a service engine before deploying a management cluster. So, I followed this as well. I just pointed the dummy service to an Ops Manager DNAT destination that was live. I saw 2 Service Engines being spun up in vCenter. I also see the number of Virtual Services turned to 1 after the Service Engines came up, and I gather that this is the indicator of success and that it’s now ready for creating a TKGM Management Cluster.
