Deploying Harbor Registry
Let’s deploy the Harbor Registry tile!
Download the Harbor v2.11.0 tile from the Broadcom download portal. The file name is:
harbor-container-registry-2.11.0-build.2.pivotal
In the Ops Manager UI, click “Import Product”. Then, find and select the file and then click “Open” to upload it. Wait for it to complete uploading. Once complete, there should be a banner that says “Successfully added product”.
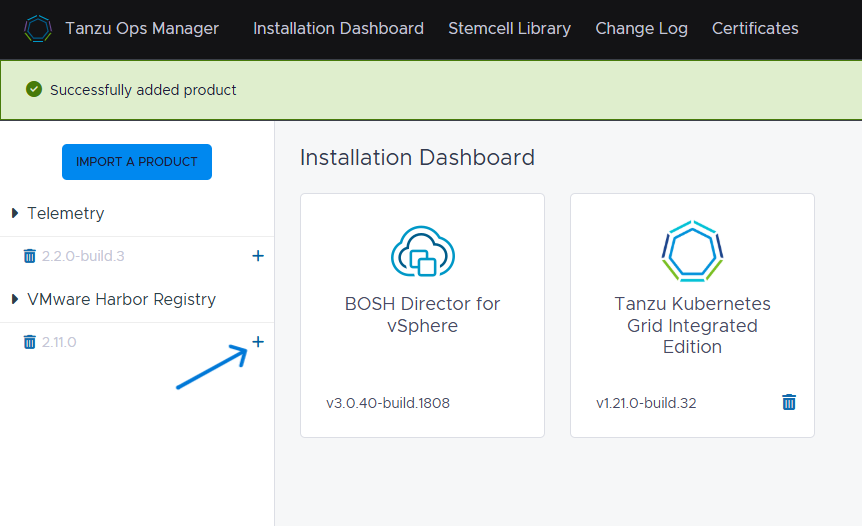
Click the “+” icon beside “VMware Harbor Registry v2.11.0” to stage it.
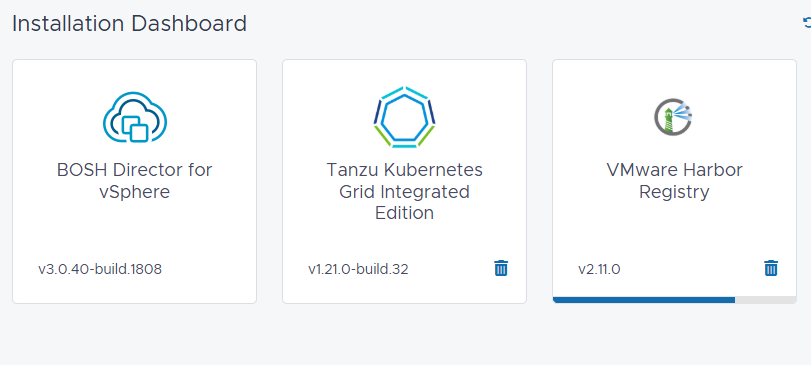
Click the “Harbor Tile” to begin configuring its settings.
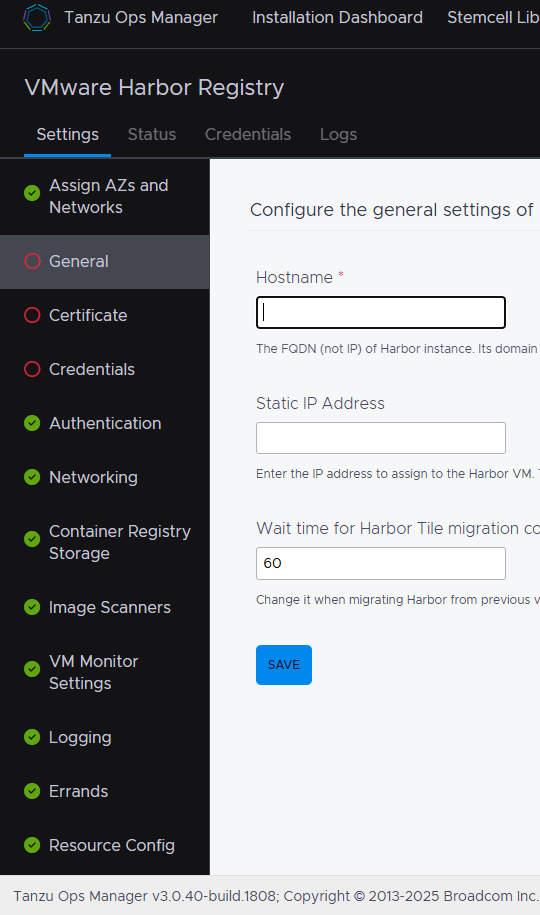
In the Settings page, we only need to be concerned about the tabs that have a red circle, which means that the settings in those tabs must be configured before we can deploy the tile. All the tabs with the green checkmark have the default settings and are good to go. However, they can also be fine-tuned accordingly.
In the General tab, enter harbor.deephackmode.io as the Hostname. Then, click “Save”.
In the Certificate tab, click “Generate RSA Certificate”, then enter harbor.deephackmode.io as the domain name, and then click “Generate”. Then, click “Save”.
In the Credentials tab, enter a password in the “Admin Password” field. This will be the “admin” account’s password. Click “Save”.
All the tabs should now be marked with a green checkmark. Now, go to “Installation Dashboard”->”Review Pending Changes”. Then, click “Apply Changes” (with all the products enabled).
Wait for the “Apply Changes” to complete successfully.
Afterward, run the “bosh vms” command to display the harbor deployment and see the Harbor VM’s IP address.
Deployment 'harbor-container-registry-bcee679c611753b689a4'

Instance                                         Process State  AZ   IPs        VM CID                                   VM Type     Active  Stemcell
harbor-app/fbecc999-ce22-44f9-b2dd-4ca531a4ef73  running        az1  10.1.1.14  vm-56a752f9-1d83-4071-89f3-5e4b1b38496c  large.disk  true    bosh-vsphere-esxi-ubuntu-jammy-go_agent/1.785

1 vms
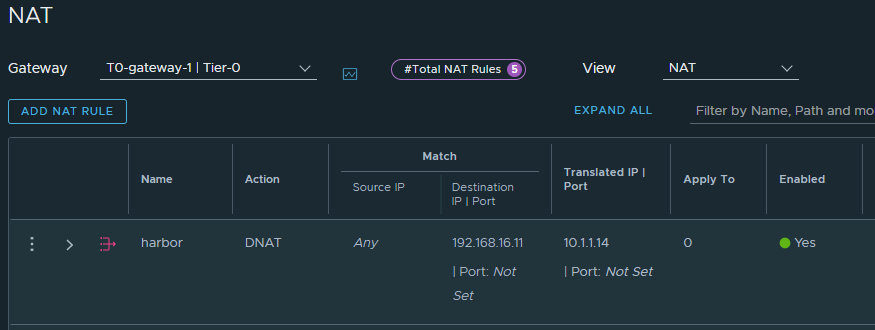
In NSX Manager, go to Networking->NAT->T0-gateway-1, and add a DNAT rule for harbor with Destination IP of 192.168.16.11 and Translated IP of 10.1.1.14.
Set up a DNS A record for harbor.deephackmode.io with IP address 192.168.16.11.
Point your browser to https://harbor.deephackmode.io.
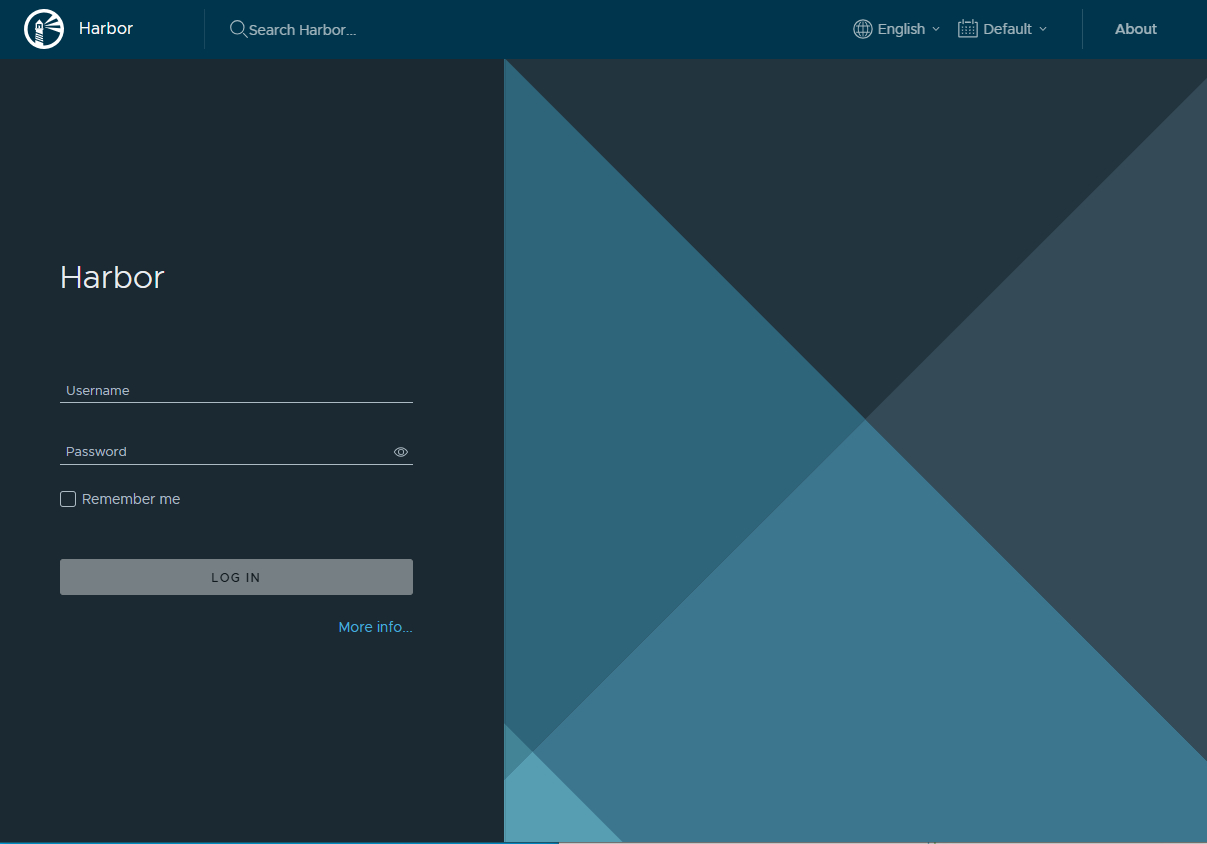
Log in with the Harbor “admin” account and the password that you entered in the settings.
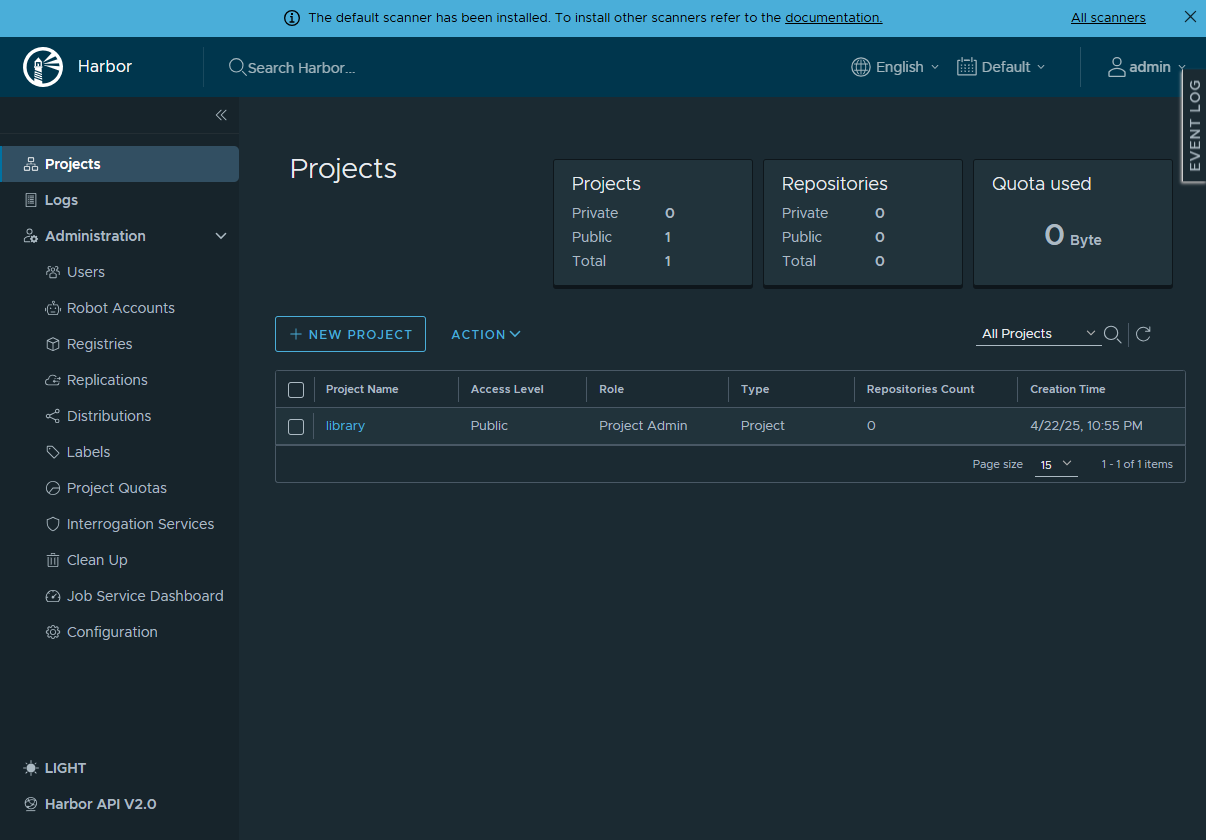
The Harbor Registry server is now operational!